
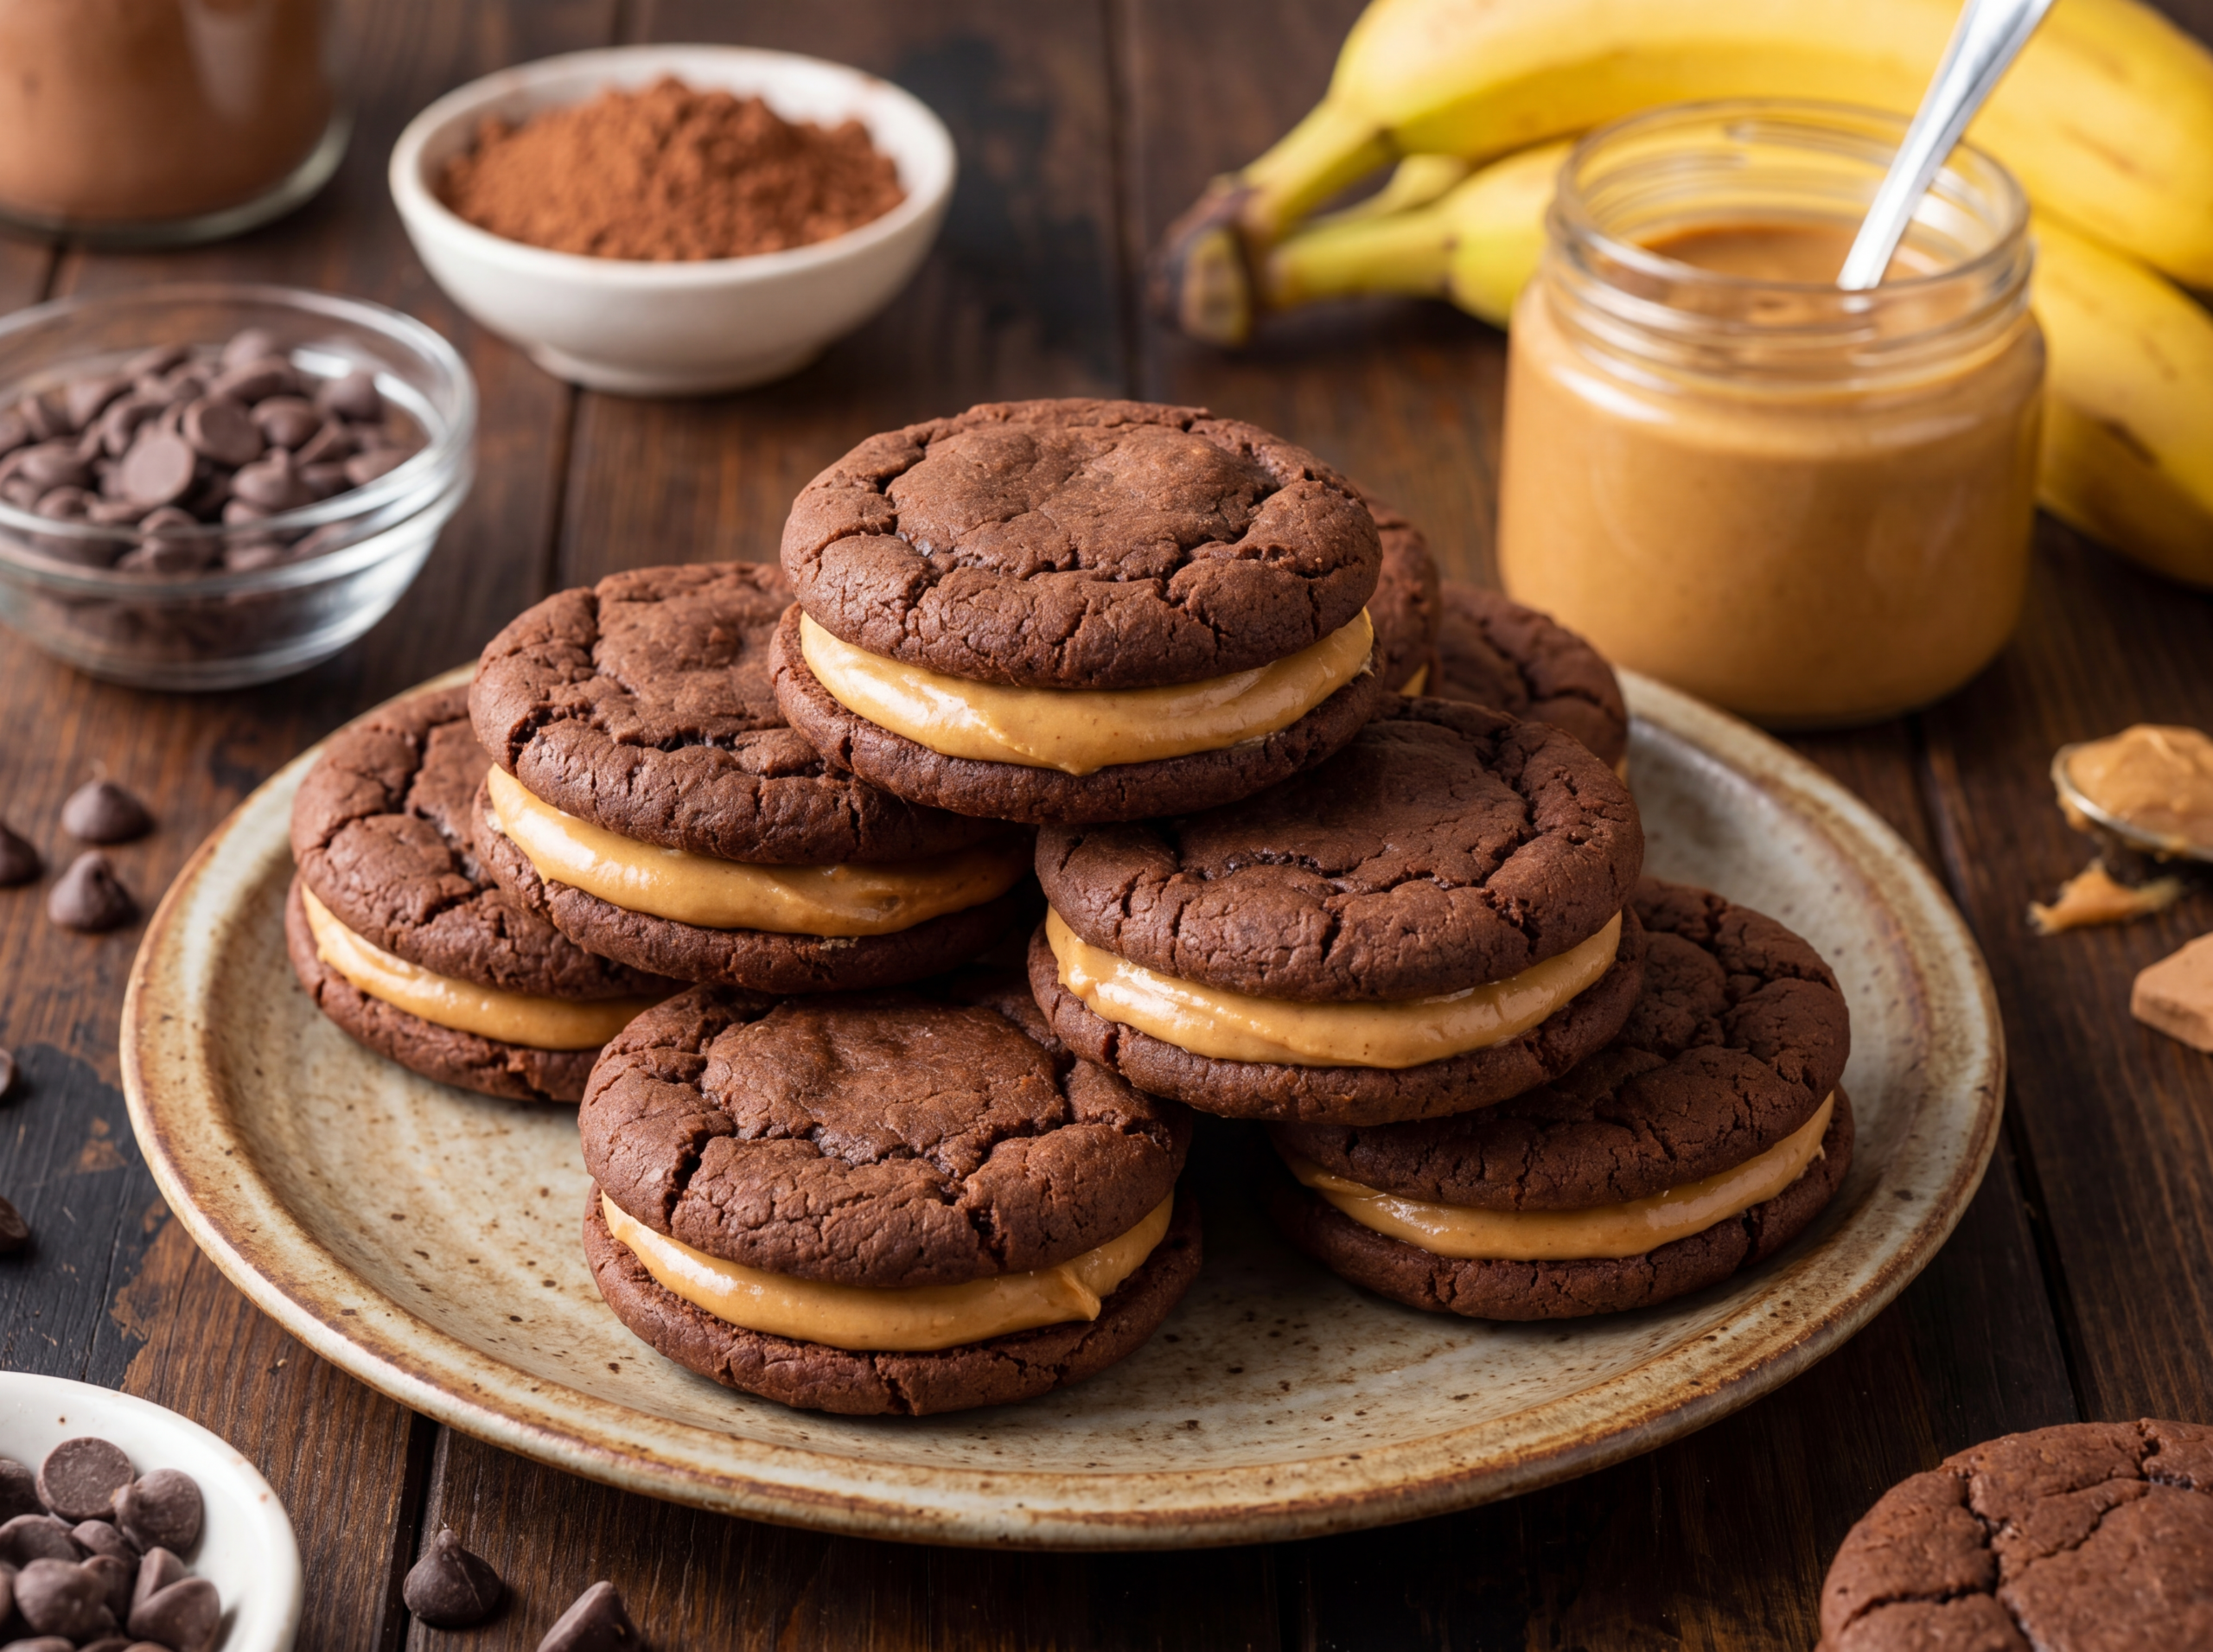
Soft Homemade
Peanut Butter Oreos
Thick, fudgy chocolate wafers meet a dreamy peanut butter cream — these are everything you love about Oreos, made completely from scratch.
If you’ve ever bitten into an Oreo and thought “I wish this were thicker, fudgier, and packed with real peanut butter” — this recipe was written for you. These homemade peanut butter Oreos take everything iconic about the classic sandwich cookie and elevate it: a rich, deeply chocolatey wafer that’s soft in the center with a slight snap at the edge, and a silky peanut butter cream filling that tastes like it belongs in a bakery display case.
The best part? No special equipment required. Just a mixer, a rolling pin, and about an hour of your time. They store beautifully, making them the perfect treat to bake ahead for parties, gifting, or — let’s be honest — eating straight from the fridge at midnight.
“The combination of deep cocoa wafers and creamy peanut butter filling is basically a love letter to every peanut butter chocolate dessert ever made.”
Ingredients
- 1 cup (125g) all-purpose flour
- ½ cup (50g) Dutch-process cocoa powder
- ½ tsp baking soda
- ¼ tsp fine sea salt
- ½ cup (115g) unsalted butter, softened
- ¾ cup (150g) granulated sugar
- 1 large egg, room temperature
- 1 tsp pure vanilla extract
- 1 tbsp whole milk
- ½ cup (125g) creamy peanut butter
- ¼ cup (55g) unsalted butter, softened
- 1½ cups (180g) powdered sugar, sifted
- 2 tbsp heavy cream
- ½ tsp pure vanilla extract
- Pinch of fine sea salt
Step-by-Step Instructions
-
1Whisk the dry ingredientsIn a medium bowl, whisk together the flour, cocoa powder, baking soda, and salt. Set aside. This is your dry mix — no lumps allowed, so sift the cocoa if needed.
-
2Cream butter and sugarBeat the softened butter and granulated sugar together in a large bowl using a hand or stand mixer on medium-high speed for about 2–3 minutes, until pale and fluffy. Don’t rush this step — it’s the foundation of a tender wafer.
-
3Add egg, vanilla, and milkMix in the egg and vanilla extract on medium speed until fully combined. Add the tablespoon of milk and mix again. The mixture may look slightly curdled — that’s fine, it’ll come together.
-
4Combine wet and dryAdd the dry ingredients to the butter mixture. Mix on low speed until the dough just comes together. It will be soft and slightly sticky. Do not overmix.
-
5Chill the doughShape the dough into a flat disc, wrap tightly in plastic wrap, and refrigerate for at least 30 minutes (up to overnight). Chilling firms the dough and prevents the cookies from spreading too much during baking.
-
6Roll, cut, and bakePreheat your oven to 350°F (175°C) and line two baking sheets with parchment paper. On a lightly floured surface, roll the dough to about ⅛-inch thickness. Cut into 2-inch rounds (or use any round cutter). Place on prepared baking sheets and bake for 9–11 minutes. The cookies will look slightly underdone — they firm up as they cool. Let cool completely on the pan before filling.
-
7Beat peanut butter and butterIn a medium bowl, beat together the peanut butter and softened butter until smooth and creamy, about 2 minutes.
-
8Add sugar, cream, and vanillaAdd the sifted powdered sugar, heavy cream, vanilla, and salt. Beat on low until combined, then increase to medium-high and beat for 2–3 minutes until the filling is light and fluffy. Adjust consistency with more cream (for a softer filling) or more powdered sugar (for a firmer one).
-
9Fill and sandwichPair up the cooled wafers by size. Spoon about 1 tablespoon of filling onto the flat side of one wafer, then gently press its pair on top, flat side down. Press until the filling spreads to the edges. For a cleaner look, use a piping bag fitted with a round tip.
-
10Rest and serveFor the best texture and flavor, let the assembled cookies rest for at least 30 minutes before serving. The filling softens the wafers slightly, creating that signature Oreo texture. Store in an airtight container at room temperature for up to 4 days, or refrigerate for up to 1 week.
- Use Dutch-process cocoa for the darkest, most intense chocolate color and flavor — natural cocoa will work but produces a lighter, milder wafer.
- Don’t skip chilling the dough. Warm dough spreads, giving you flat, fragile wafers instead of thick, sturdy ones.
- Slightly underbake the wafers — they should look a touch underdone when you pull them out. They’ll set up perfectly as they cool and become even softer once filled.
- Room temperature butter is non-negotiable for both the wafers and the filling. Cold butter = lumpy dough. Melted butter = greasy cookies.
- Creamy peanut butter works best. Natural peanut butter (the oily, separated kind) can make the filling too loose unless you stir it very thoroughly first.
- Make them ahead: Filled cookies actually taste better on day 2 after the wafers soften slightly from the filling. Perfect for prepping the night before a party.
Frequently Asked Questions
Made this recipe?
Tag your photos and leave a comment below — we love seeing your creations!
Leave a Comment