
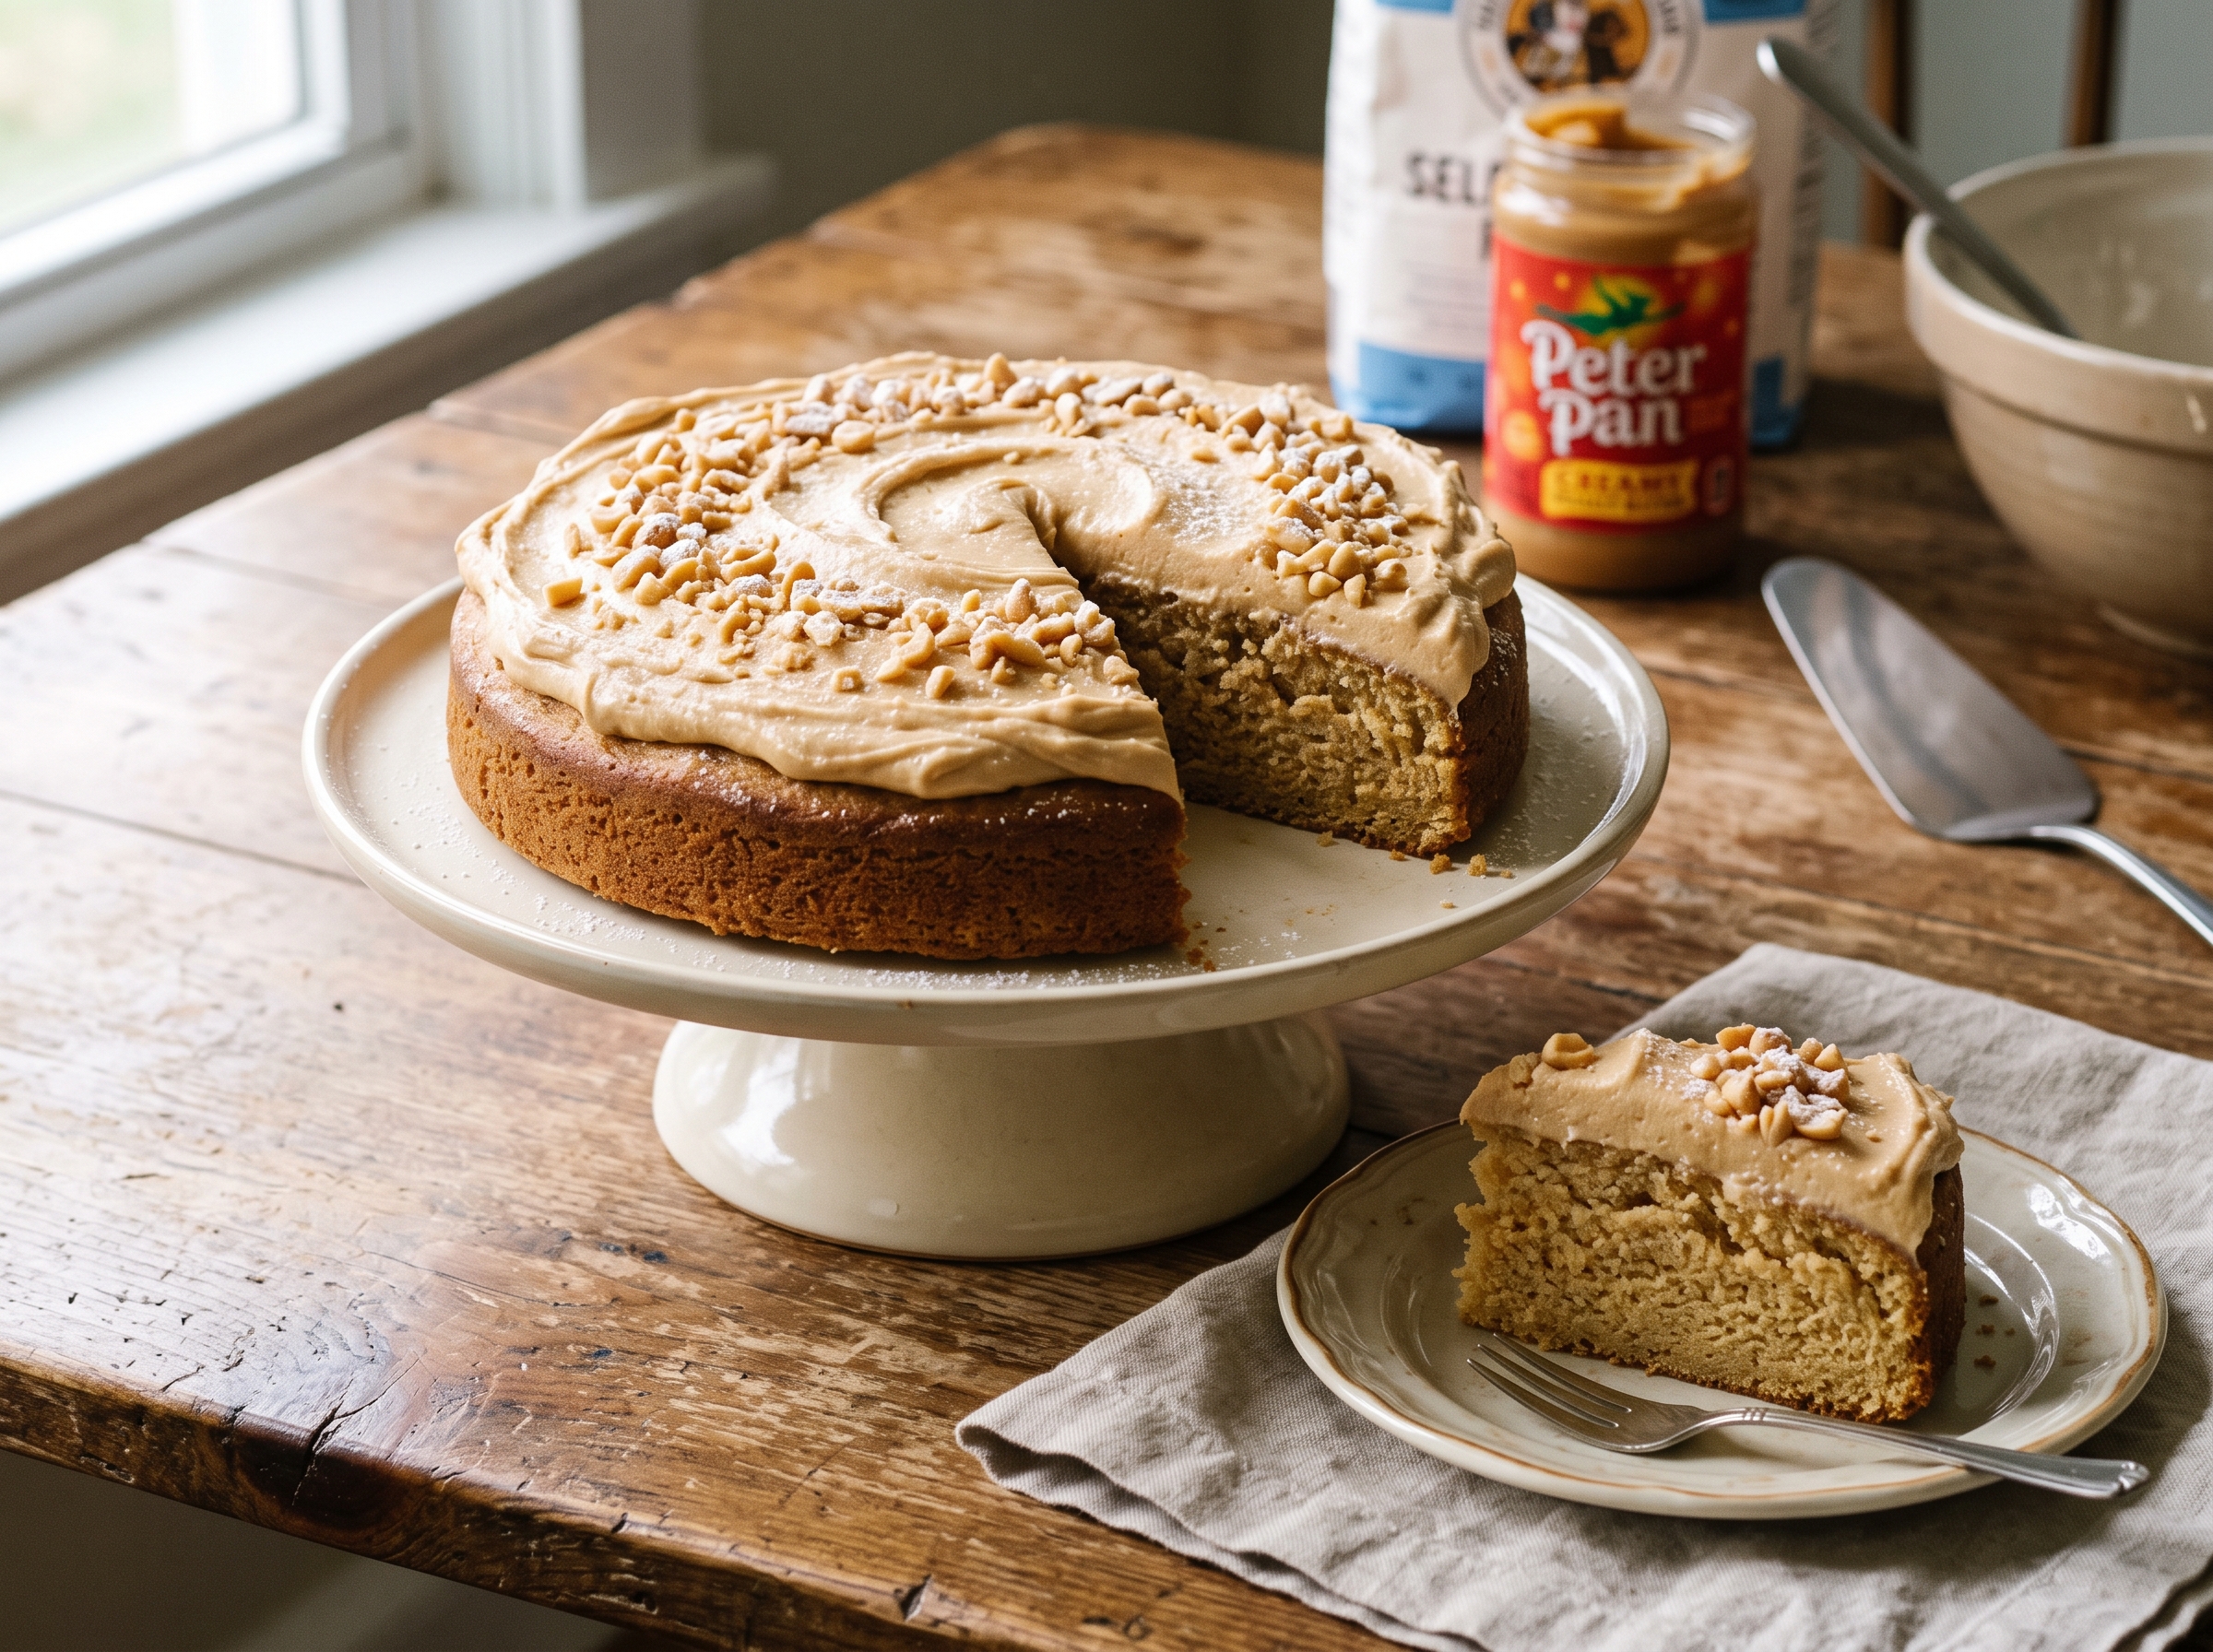

2-Ingredient
Peanut Butter Dream Cake
Just creamy peanut butter and eggs — no flour, no sugar, no baking powder. A smart technique turns two pantry staples into a surprisingly light, rich, and sliceable cake.
Thank you for reading this post, don't forget to subscribe!What Makes This Two-Ingredient Cake So Special
A cake made with only peanut butter and eggs sounds almost too simple to be true. Yet the concept is remarkably clever: instead of relying on flour and chemical leaveners for structure, it uses whipped egg whites to create a light framework around rich peanut butter.
The real attraction is convenience. When you have a jar of creamy peanut butter and four eggs, you are already most of the way to dessert — no flour, no sugar, no butter to soften, no frosting to prepare. And along the way, you learn one of baking’s most important techniques: how whipped egg whites can transform a simple mixture into something genuinely cake-like.

Just 2 Ingredients
Creamy Peanut Butter
Supplies all the flavor, richness, fat, and body. Use conventional creamy — natural varieties can separate and alter the final texture unpredictably.
Large Eggs
The yolks bind and enrich the base. The whites, whipped to stiff peaks, provide all the lift — they are the engine that turns this into a real cake.
Equipment Note
Parchment is essential — this cake has a delicate structure and should not be pried from the pan. The 7-inch size gives you the intended thickness and bake time.

How to Make 2-Ingredient Peanut Butter Cake
-
1
Preheat & Prepare the Pan
Heat oven to 350°F (175°C). Grease a 7-inch round cake pan and line it with parchment paper. The parchment is non-negotiable — it gives you a clean, tear-free release.
-
2
Separate the Eggs
Separate the four eggs carefully, placing whites in a large clean mixing bowl and yolks in a separate bowl. Even a small amount of yolk in the whites can prevent them from whipping properly. Separate each egg individually into a small bowl first if you are nervous about breaking the yolks.
-
3
Mix Peanut Butter & Yolks
Add the peanut butter to the yolks and whisk until smooth and thoroughly combined. It may feel thick initially — keep whisking until there are no streaks of yolk and the mixture looks cohesive.
-
4
Whip the Egg Whites to Stiff Peaks
Use an electric mixer to beat the egg whites until they reach stiff peaks — when you lift the beaters, the peaks should stand firm without collapsing. Do not stop at a loose foam, and avoid whipping until dry and grainy. You want a glossy, stable foam.
💡 The whipped whites are the entire structure of this cake. Take your time — the quality of your peaks has a direct impact on the final height and tenderness. -
5
Fold the Batter Without Losing Air
Add roughly one-third of the whipped whites to the peanut butter mixture and fold gently — this lightens the heavy base. Add the remaining whites in two more additions, folding with a spatula using broad movements from the bottom of the bowl upward. Stop as soon as the batter is evenly combined. Every air bubble is a tiny piece of scaffolding holding up your cake.
💡 Resist stirring rapidly. Fold patiently and stop once uniform — overmixing destroys the very air you worked to create. -
6
Bake
Pour the batter into the prepared pan and smooth the surface gently. Bake until the center is set and a toothpick inserted in the middle comes out with a few moist crumbs — not wet batter. Begin checking at 25 minutes.
⏰ 25–30 minutes at 350°F / 175°C -
7
Cool Before Slicing
Remove from the oven and cool in the pan for 10 minutes, then transfer to a wire rack and cool completely before slicing. The cake continues to set as it cools — cutting while hot produces a fragile, compressed center.

Why This Cake Rises Without Baking Powder
The absence of baking powder is not a mistake. This recipe takes a different route: physically incorporating air into egg whites before baking. When those air bubbles are heated, they expand and help the batter rise while the egg proteins set around them — creating structure without a single gram of flour or chemical leavener. It is similar in principle to a soufflé or chiffon cake, but far simpler to prepare.
Common Mistakes to Avoid
Treating this like ordinary cake batter is the biggest mistake. There is no flour, baking powder, or sugar to provide backup structure — the whipped whites are everything. Any grease or yolk in the whites will prevent them from whipping properly. Folding too aggressively destroys the volume you worked to build. Overbaking leaves the cake dry and firm because there is no flour-based moisture structure to protect it. And rushing the cooling stage collapses the delicate crumb before it has time to set.
Easy Ways to Serve the Cake
The simplest way is to slice and enjoy as is — the peanut butter flavor is concentrated enough that the cake needs no frosting. A dusting of powdered sugar makes it look polished. For a more indulgent serve, add fresh berries, banana slices, whipped cream, or a drizzle of melted chocolate. The contrast between rich peanut butter cake and chocolate is naturally appealing — a slice with warm chocolate sauce is essentially a deconstructed peanut butter cup.
How to Store Leftover Cake
Allow the cake to cool completely before storing. Place in an airtight container in the refrigerator for up to several days. The texture may become slightly firmer when chilled — let individual slices sit at room temperature briefly before serving if you prefer a softer bite. Store away from strongly scented foods, as peanut butter can absorb surrounding aromas.
Tips for the Best Texture
Protect the Whipped Whites
Use a flexible spatula, not a whisk, and fold rather than stir. Every bubble is load-bearing — treat them accordingly.
Use Conventional Peanut Butter
Natural peanut butter can separate and alter the batter’s consistency. Smooth, processed creamy peanut butter is the most reliable choice.
Clean Bowl for Whites
Any trace of grease or yolk prevents proper whipping. Wipe your bowl and beaters with a clean cloth before starting.
Don’t Overbake
Start checking at 25 minutes. A few moist crumbs on the toothpick is the target — completely dry means the cake may already be overdone.
Cool Completely
The cake continues to firm as it cools. Slicing too early gives you a fragile, compressed center. Patience produces a cleaner cut.
Use the Right Pan
A 7-inch round pan gives you the thickness intended for this recipe. A wider pan produces a thinner cake with a shorter bake time.
Variations for Peanut Butter Lovers
Keep the two-ingredient base and add toppings after baking. A spoonful of jam creates a peanut butter-and-jelly experience. Fresh banana adds sweetness and softness. Chopped roasted peanuts scattered over a chocolate drizzle takes the whole thing to another level without complicated baking techniques.
| Recipe Detail | Information |
|---|---|
| Recipe | 2-Ingredient Peanut Butter Cake |
| Alternate Name | Easy Two-Ingredient Peanut Butter Dream Cake |
| Main Ingredients | Peanut Butter and Eggs |
| Prep Time | 10 minutes |
| Cooking Time | 30 minutes |
| Total Time | 40 minutes |
| Oven Temperature | 350°F (175°C) |
| Pan | 7-inch round cake pan |
| Servings | 8 |
| Estimated Calories | 185 kcal per serving |
Frequently Asked Questions
Can I use natural peanut butter?
You can experiment, but natural varieties often separate — leaving oil at the top and thicker peanut solids underneath — which can affect batter consistency. For the most reliable first attempt, use smooth, well-stirred conventional creamy peanut butter.
Can I use more eggs?
Changing the egg count changes the balance between peanut butter and egg. More eggs can produce a lighter or more custard-like texture; fewer eggs may leave the mixture too dense. Follow the provided ratio of 1 cup peanut butter to 4 large eggs for the intended result.
Can I make it in a different pan?
Yes, but pan size affects thickness and therefore baking time. A wider pan creates a thinner cake that bakes faster; a smaller or deeper pan requires more time. For the most predictable outcome, use the recommended 7-inch round pan and check the center with a toothpick near the end of the suggested baking period.
Can I freeze it?
Yes. Cool completely, wrap individual slices tightly, and place in an airtight freezer-safe container. Thaw gradually in the refrigerator, then allow slices to come closer to room temperature before serving. Freezing may slightly alter the texture.
Is this really a two-ingredient cake?
Yes — the cake itself contains only peanut butter and eggs. The pan preparation uses parchment and grease, but those are not incorporated into the batter. The recipe is a genuine two-ingredient dessert, not a “two-ingredient” label applied loosely while counting toppings and extras separately.
Why separate the eggs?
Separating the eggs allows the whites to be whipped into a stable foam. That trapped air provides the lift that would otherwise come from flour and chemical leaveners. Without whipped whites, you would have a denser, flatter result.
2-Ingredient Peanut Butter Dream Cake is a perfect example of how a smart technique can replace a long ingredient list. With nothing more than creamy peanut butter and eggs, you can create a rich, naturally peanutty cake that is surprisingly light because the egg whites provide the lift. Simple enough for a beginner, yet the whipping and folding technique gives it a real lesson in baking science. Sometimes the most memorable desserts are not the ones with the longest ingredient lists — they are the ones that make you wonder how two simple ingredients managed to become something this delicious.