
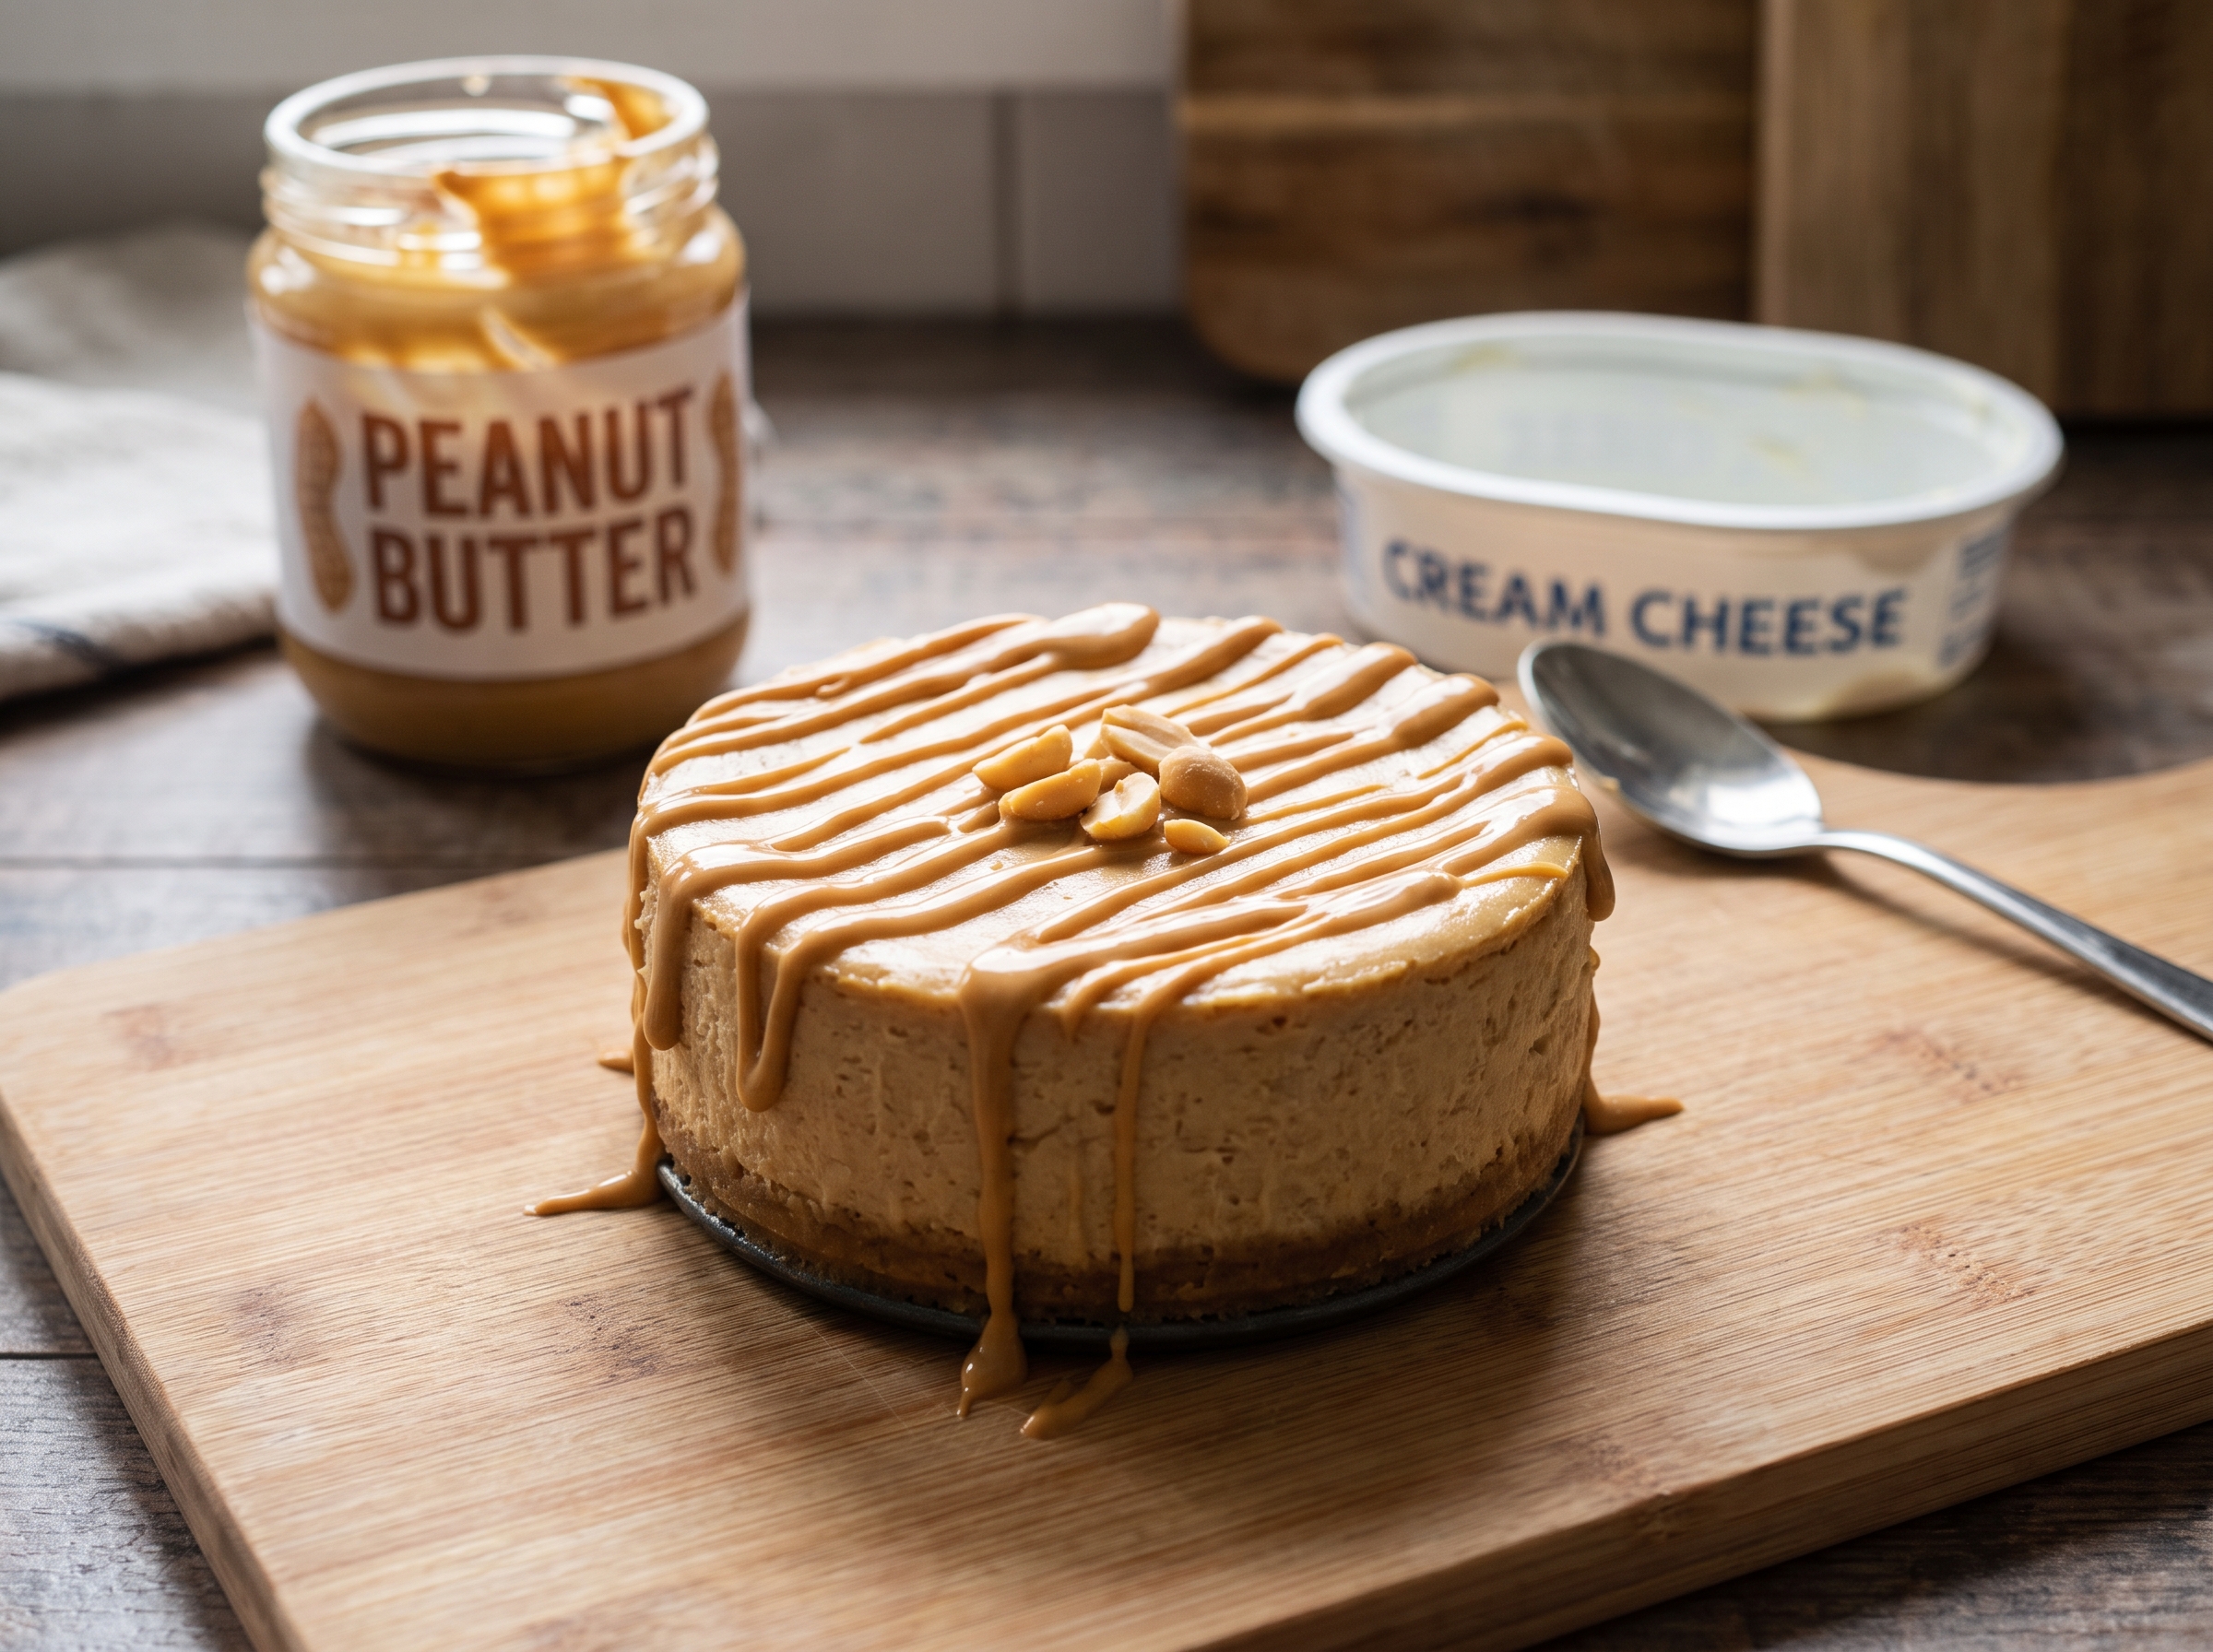
Peanut Butter
Cheesecake
Just peanut butter and cream cheese, beaten until fluffy and chilled until sliceable — the cheesecake that skips the crust, the eggs, and the oven entirely.

Two ingredients, no oven, and a texture so dense and creamy it borders on fudge.
This recipe exists for the moment you want cheesecake but the idea of a water bath, a springform pan wrapped in foil, and forty-five minutes of watching the oven feels like too much. It skips nearly everything a normal cheesecake requires — no eggs, no sugar, no crust, no baking — and gets to the same place through a shorter, stranger-sounding route: peanut butter and cream cheese, beaten together until smooth, then left alone in the fridge to firm up.
What you get back is somewhere between a cheesecake and a peanut butter fudge bar — rich, dense, sliceable, and unmistakably peanut butter all the way through rather than just peanut butter flavored.
Why This One Works
Cream cheese and peanut butter are both high-fat, low-moisture spreads, which means that beaten together they behave almost exactly like a baked cheesecake filling once chilled — without needing eggs or heat to set. The fat content is what firms the mixture up in the fridge; the beating is what makes it fluffy instead of dense and pasty. Skip the mixer and stir by hand, and the texture stays noticeably heavier.

What You’ll Need
- 1 cup creamy peanut butterA no-stir, shelf-stable style works best
- 8 oz cream cheese, softenedLeft at room temperature for 30 minutes
How to Make It
- Line the pan. Set parchment paper into the bottom of a 6-inch springform pan for easy removal later.
- Combine. Place the softened cream cheese and peanut butter together in a large mixing bowl.
- Beat until fluffy. Using an electric mixer, beat for 2–3 minutes, until completely smooth and slightly airy.
- Fill the pan. Spoon the mixture into the prepared pan and smooth the top evenly with a spatula.
- Chill. Refrigerate for at least 4 hours, or overnight, until firm to the touch.
- Unmold. Carefully release the sides of the springform pan and lift the cheesecake free.
- Slice and serve. Cut into wedges while chilled — this cheesecake is meant to be served cold.


A Few Ways to Make It Yours
Graham Crust Base
Press a layer of crushed graham crackers mixed with melted butter into the pan before adding the filling for a classic cheesecake base.
Chocolate Swirl
Melt 1/4 cup chocolate chips and swirl through the top of the filling before chilling for a marbled finish.
Honey-Sweetened
Beat in 2 tablespoons of honey if you prefer a sweeter filling — the texture stays exactly the same.
Almond Butter Version
Swap the peanut butter for almond butter for a milder, slightly nuttier take on the same technique.
Storage
Keep the cheesecake covered in the fridge for up to five days — it holds its texture well since there’s no egg-based filling to worry about spoiling quickly. For longer storage, slice and freeze individual wedges wrapped tightly, then thaw in the fridge overnight before serving. It’s rich enough that a thin slice usually does the job, so don’t be surprised if it lasts longer than a traditional cheesecake would in your fridge.
Common Questions
Can I use natural peanut butter?
You can, but stir it very well first — natural peanut butter separates, and the oil layer can throw off the texture, leaving the filling looser than it should be. A no-stir, shelf-stable peanut butter sets up more reliably.
Why is my cheesecake still soft after chilling?
It likely just needs more time — this cheesecake sets purely through chilling, so give it the full 4 hours, and preferably overnight, before slicing.
Can I double the recipe for a bigger cheesecake?
Yes — double both ingredients and use an 8- or 9-inch springform pan instead. Chilling time may need to run a little longer since the filling will be thicker.