
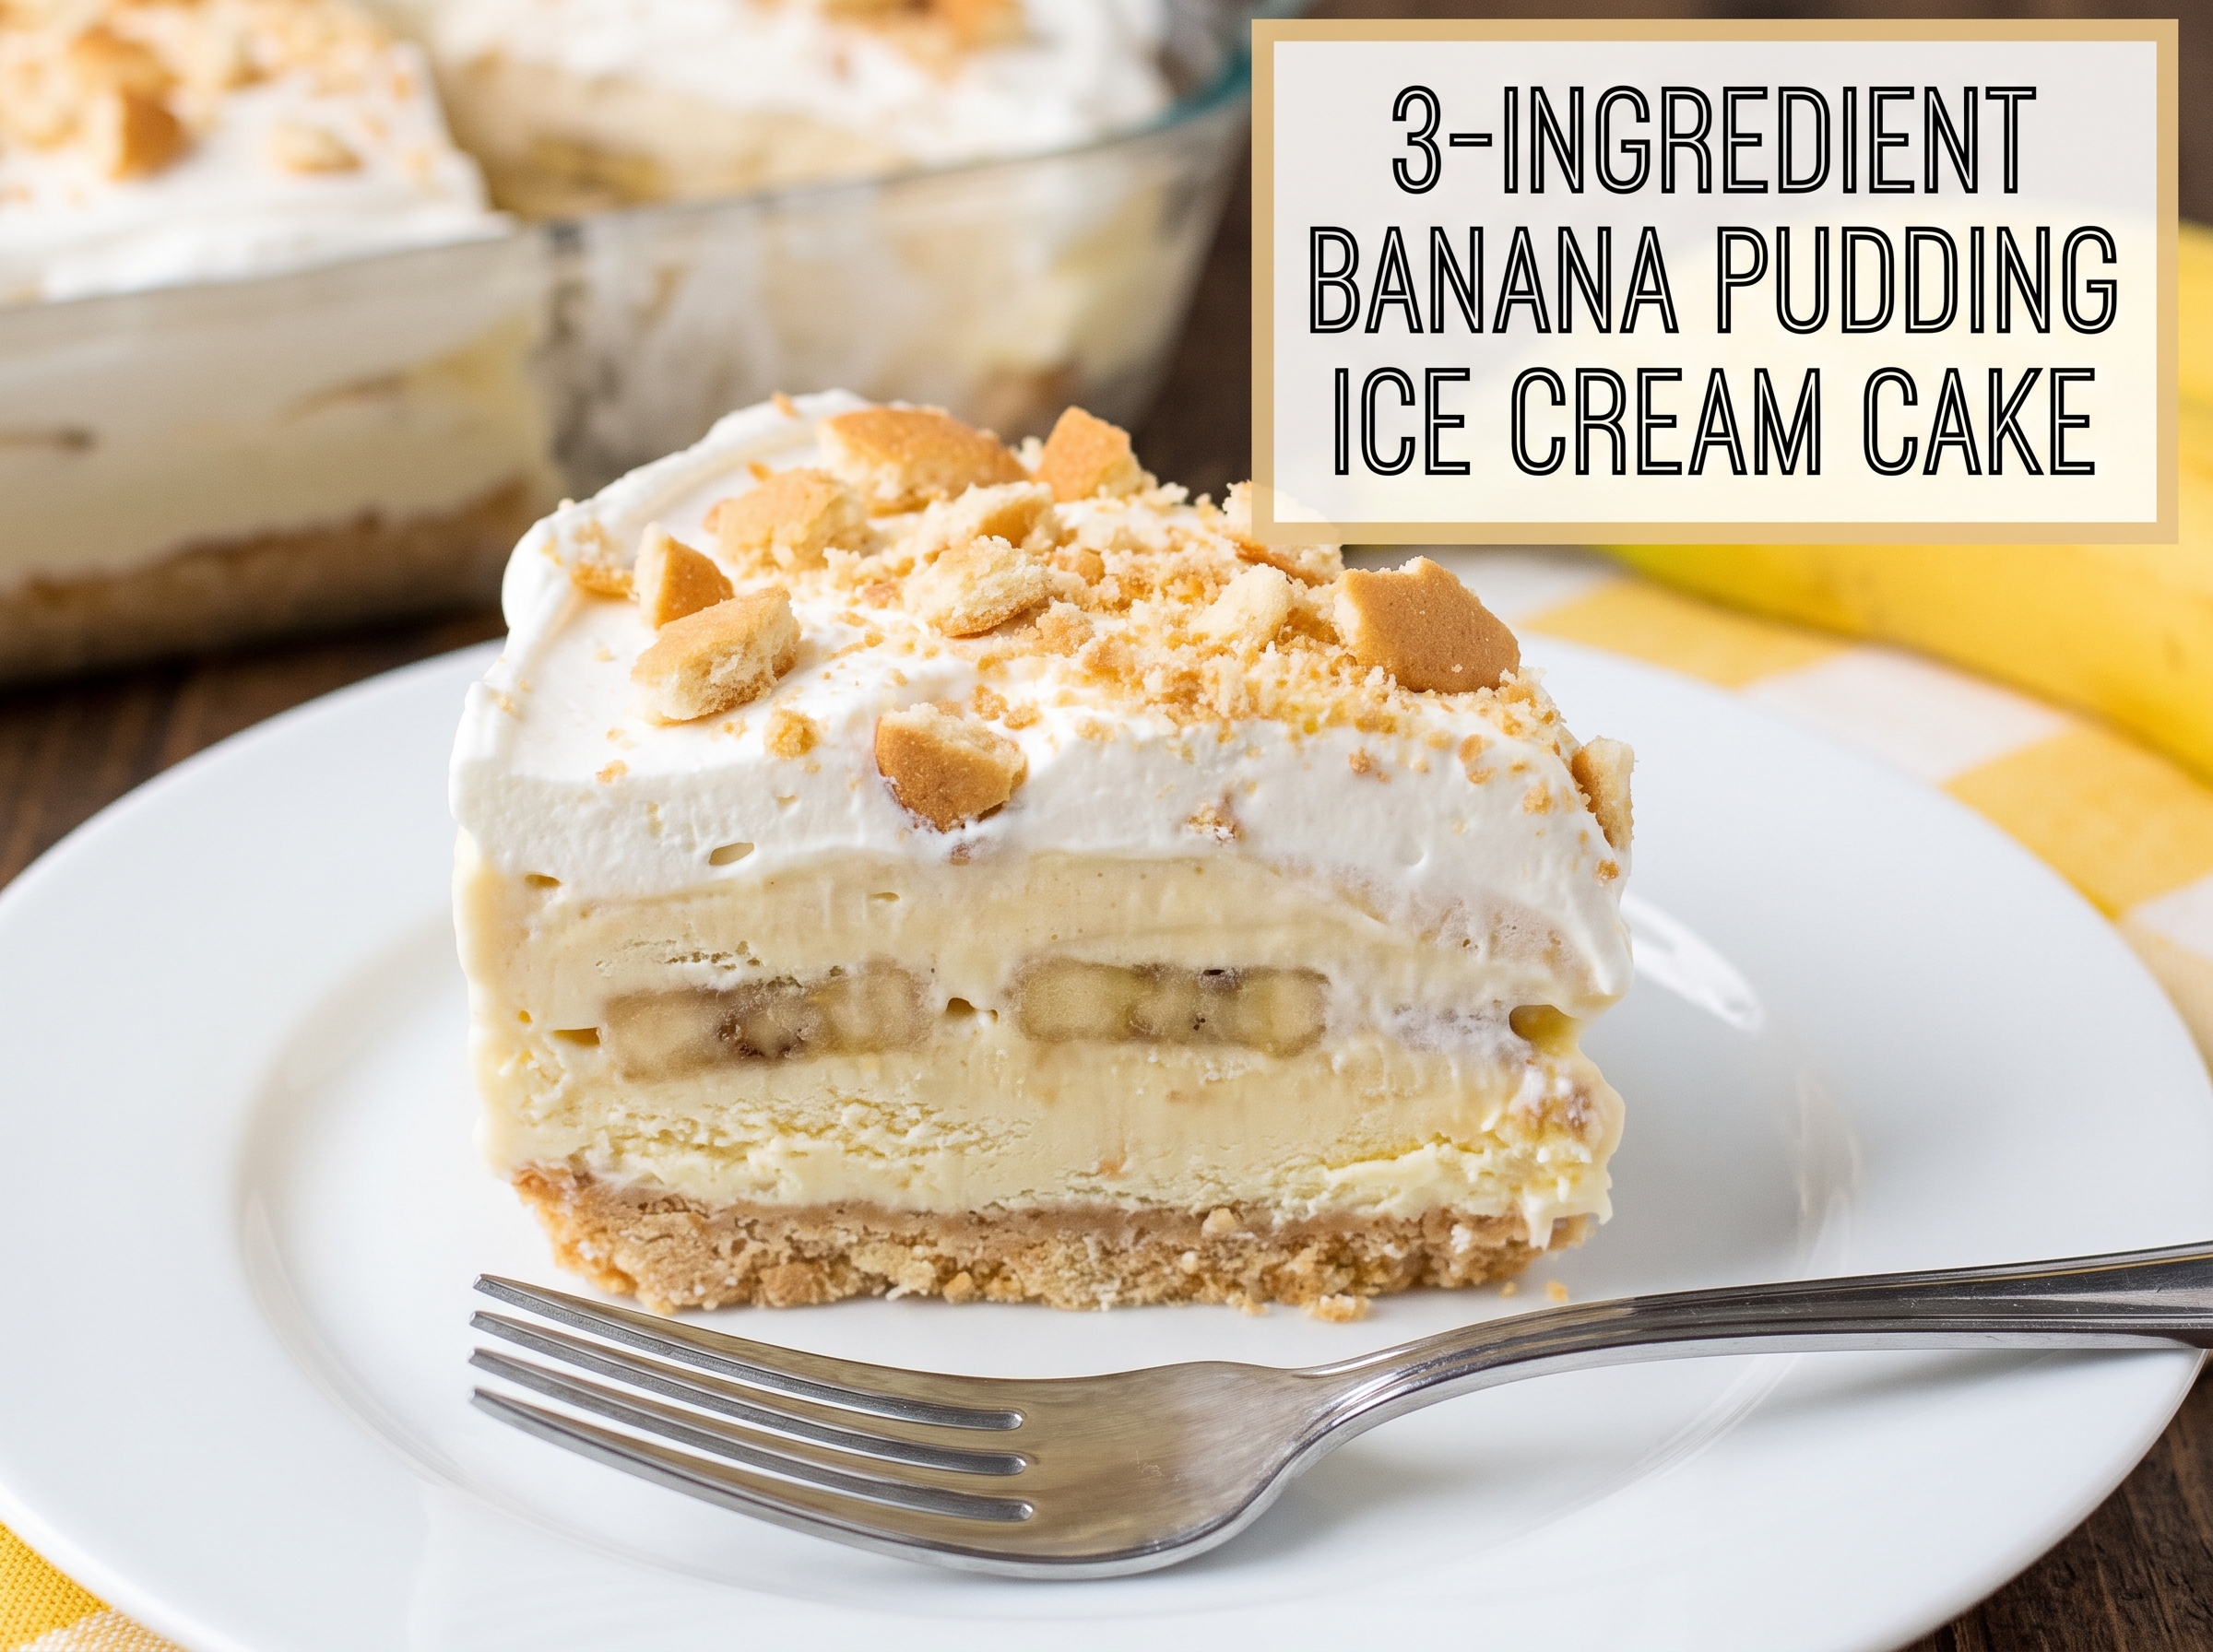
Banana Pudding
Ice Cream Cake
The Southern classic, reimagined as a no-churn ice cream loaf — three ingredients, one bowl, zero baking.

Banana pudding is a dessert that shouldn’t need the stove, and now it doesn’t.
The classic version has always had a small logistical problem: it needs hours to chill and set before it tastes right, which means someone in the kitchen has to plan ahead. This version solves that by leaning into the freezer instead of the fridge — softened vanilla ice cream stands in for the custard, instant banana pudding mix does the flavor work in seconds, and Nilla wafers bring the crunch. Stir, layer, freeze, done.
What comes out of the pan looks like something from a bakery case — clean layers, a cookie crumb topping, a texture somewhere between ice cream cake and frozen custard pie. Nobody needs to know it took fifteen minutes of active effort.
Why This One Works
Instant pudding mix is built to set up with almost no liquid, which is exactly what makes it work here — folded straight into softened ice cream, it thickens the base just enough to hold clean layers once frozen, without turning icy or grainy the way a homemade custard base can. The vanilla wafers do double duty: layered in, they soften slightly into a texture like frozen cake; crushed on top, they add the crunch that keeps every bite from being one-note.

What You’ll Need
- 1 box (3.4 oz) instant banana pudding mixInstant, not the cook-and-serve kind
- 4 cups vanilla ice cream, slightly softenedLeft at room temperature for 10–15 minutes
- 1 package (11 oz) vanilla wafer cookiesNilla wafers, or any similar brand
How to Make It
- Line the pan. Set an 8-inch loaf pan with plastic wrap, leaving enough overhang on all sides to fold over the top later.
- Prep the wafers. Crush about half the vanilla wafers into coarse crumbs and set aside. Keep the rest whole for layering.
- Mix the base. In a large bowl, stir the softened vanilla ice cream and banana pudding mix together until smooth and evenly colored.
- First layer. Spread a layer of the banana ice cream mixture into the bottom of the prepared pan.
- Add crunch. Arrange a layer of whole vanilla wafers over the ice cream.
- Repeat. Continue layering ice cream and wafers, finishing with a final layer of the banana ice cream mixture on top.
- Top it off. Sprinkle the reserved crushed wafer crumbs over the surface and press gently to help them stick.
- Freeze. Cover tightly with the plastic overhang and freeze for at least 6 hours, ideally overnight.
- Serve. Let the cake stand at room temperature for 5–10 minutes before slicing. Garnish with extra whole wafers if you like.


A Few Ways to Make It Yours
Fresh Banana Layer
Slice a ripe banana thin and layer it in with the wafers for real fruit in every bite, not just the flavor.
Caramel Drizzle
Drizzle caramel sauce between the layers and over the top before freezing for a banana-caramel finish.
Chocolate Swap
Use chocolate pudding mix and chocolate wafer cookies for a completely different, equally easy version.
Individual Cups
Layer the same components into small jars or cups for portioned, freezer-ready single servings.
Storage
Keep the cake tightly wrapped in the freezer for up to two weeks — the texture stays best in the first several days, when the wafers still hold a little crunch. If you’re not serving the whole loaf at once, slice off individual portions and rewrap the rest immediately so it doesn’t pick up ice crystals. Let each slice sit out for five to ten minutes before eating; straight from the freezer, it’s a little too firm to enjoy properly.
Common Questions
Can I use homemade whipped cream instead of ice cream?
Not quite as a swap — this recipe relies on ice cream’s fat content to set up firm in the freezer. Whipped cream alone will freeze much icier and won’t slice as cleanly.
My layers didn’t hold together when I sliced it. What happened?
Most often this means the cake didn’t freeze long enough. Give it the full 6 hours, and ideally overnight — the pudding mix needs that time fully set to hold its shape when sliced.
Can I make this dairy-free?
Yes — swap in a dairy-free vanilla ice cream alternative. Check that your pudding mix and wafer cookies are dairy-free too, since some brands include milk ingredients.