
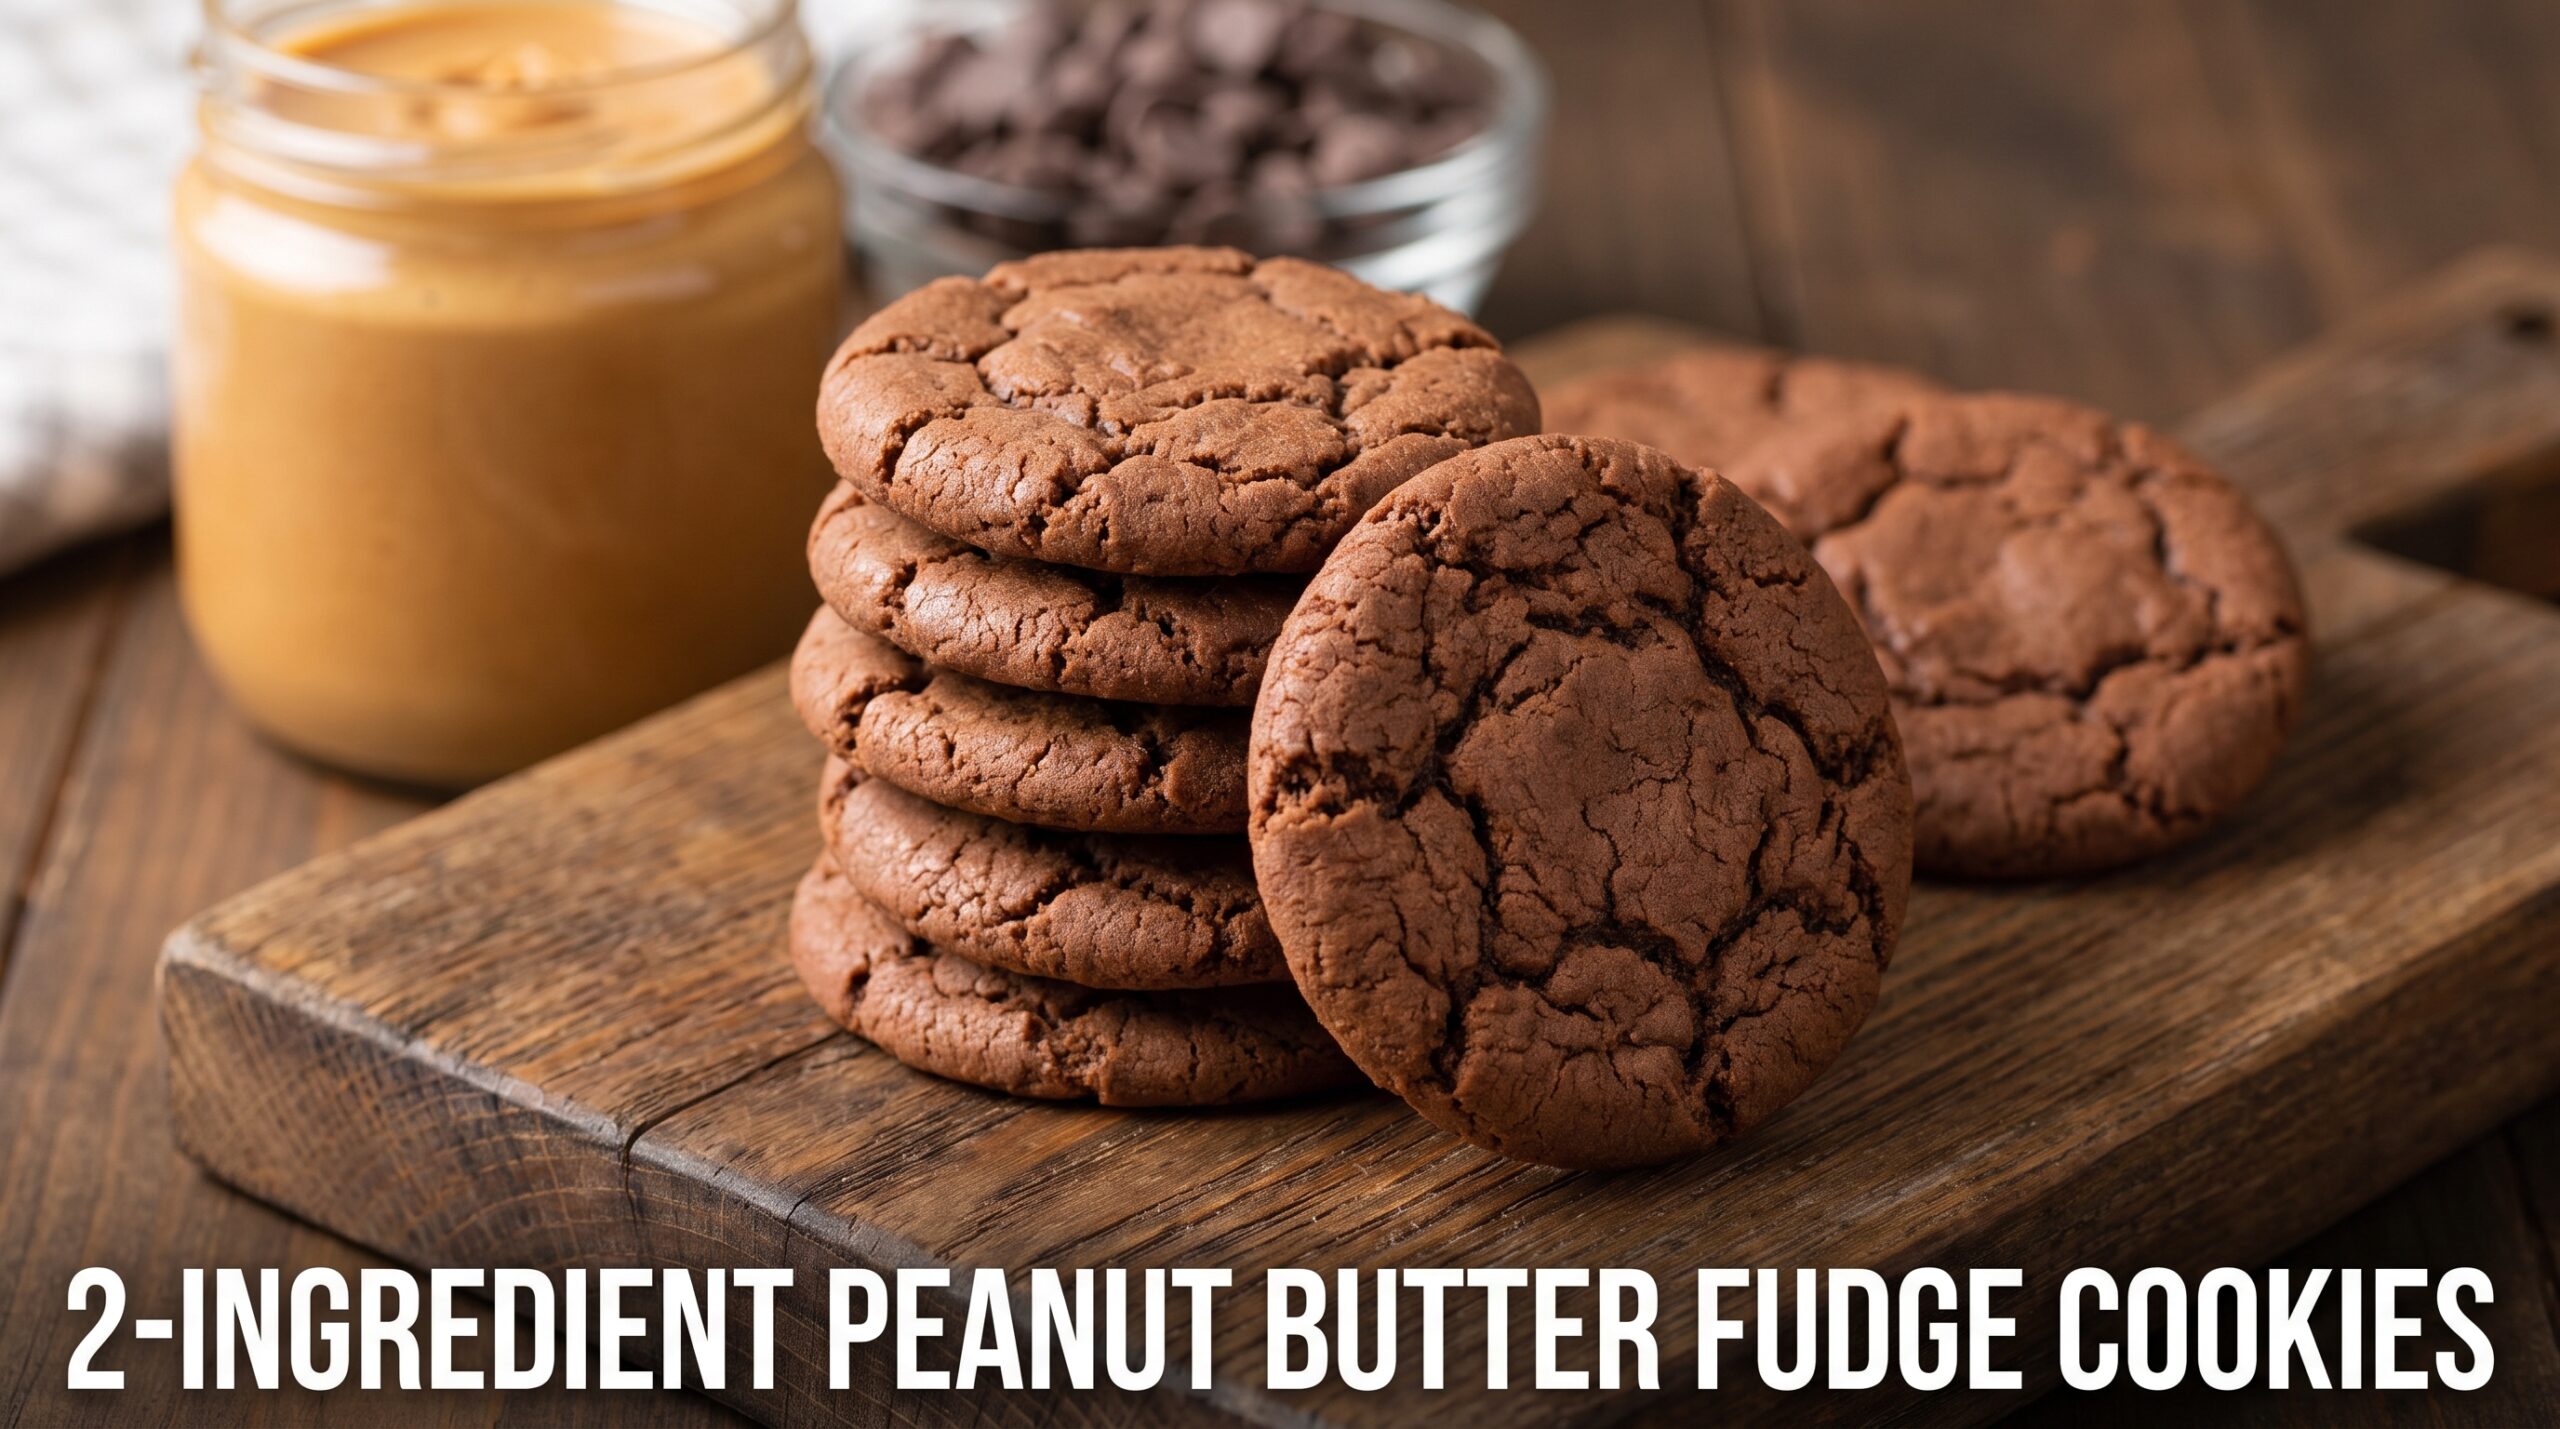
Peanut Butter Fudge Cookies
Three ingredients, one bowl, and a cookie so dense and fudgy it barely needs the word “cookie” at all.
Thank you for reading this post, don't forget to subscribe!
There are cookie recipes, and then there’s the recipe you make when you want a cookie in the next twenty minutes and have exactly three things in the pantry.
This is that recipe. Peanut butter, sugar, and a single egg — no flour, no butter, no baking soda, no chilling the dough overnight. Mix it, roll it, press it with a fork the way peanut butter cookies have been pressed for generations, and bake. What comes out is dense, fudgy, deeply peanut-flavored, and just barely holding together at the edges in the best possible way.
It’s the kind of recipe that gets passed around index cards and group chats precisely because it asks for almost nothing and delivers something genuinely good. No stand mixer, no creaming butter and sugar, no waiting for anything to come to room temperature. If you’ve got a jar of peanut butter in the pantry, you’re most of the way to cookies already.
What makes this recipe worth keeping in permanent rotation isn’t just the short ingredient list — plenty of recipes claim to be simple and still ask for a dozen pantry staples buried in the fine print. This one really is just three things, measured into a bowl and stirred with a spoon. It’s the recipe you make at nine at night when a craving hits and the grocery store feels too far away, or the one you teach a kid to bake because there’s very little that can go wrong along the way.
A Little Bit of History
Flourless peanut butter cookies have a longer history than most people expect. Variations of a simple peanut butter, sugar, and egg cookie have circulated through community cookbooks and home kitchens since at least the mid-20th century, often passed along specifically because they were reliable, inexpensive, and required no special equipment. In an era before every kitchen had a stand mixer, a cookie that came together with a fork and a bowl had real appeal — and that appeal hasn’t faded, even now that most of us do have a mixer sitting on the counter.
The classic fork-cross pattern pressed into the top of each cookie isn’t just decorative, either — it has a functional history. Traditional peanut butter cookie dough is thick and doesn’t spread much in the oven on its own, so pressing it down with a fork before baking helps the cookies flatten and bake through evenly, rather than staying in a tall, dense mound that bakes unevenly from outside to center. It’s a small technique with a very practical purpose, and it’s stuck around in nearly every version of this cookie for exactly that reason.
It’s worth noting that this three-ingredient version is a specific offshoot of the broader peanut butter cookie family. Most traditional recipes still include flour, baking soda, and butter alongside the peanut butter, producing a cookie that’s a little more cakey and traditional in structure. The flourless version emerged as a shortcut — sometimes attributed to home economics demonstrations in the mid-20th century meant to show how few ingredients a good cookie actually required. Whatever its exact origin, it’s become one of the most shared, most reliable “emergency cookie” recipes in home baking, precisely because it delivers real flavor without asking for real effort.
Why This One Works
Peanut butter itself is doing almost all the structural work in this recipe, which is part of what makes it possible to skip flour entirely. Peanut butter is naturally high in fat and protein, and when combined with sugar and a binding egg, it forms a dough that holds together and bakes into a solid, cookie-like structure without any need for the gluten network that flour would normally provide. The sugar sweetens and also contributes to that slightly crackled, crisp-at-the-edges finish you see on top once baked. The egg is the binder that ties it all together and helps the cookies set as they cool, rather than staying loose and crumbly.
This is also why the type of peanut butter you use matters more here than it would in a recipe with flour to fall back on. A no-stir, shelf-stable peanut butter — the kind that stays smooth and doesn’t need to be stirred before use — gives the most consistent, reliable dough. Natural peanut butters, which separate and have a looser, oilier texture, can throw off the ratio of fat to dry ingredients and lead to cookies that spread too much or don’t hold their shape as well.
There’s a second reason this method works so reliably, and it comes down to how little there is to get wrong. Traditional cookie recipes fail for a handful of predictable reasons — butter that’s too warm or too cold, overmixed gluten from too much flour handling, leaveners that have gone stale in the back of the pantry. Strip almost all of those variables out, and what’s left is a recipe that’s remarkably forgiving. There’s no gluten to overdevelop, no butter temperature to manage, no rising agent to worry about losing potency. The margin for error narrows down to essentially one thing: don’t overbake it. That’s a rare kind of simplicity in baking, where so much of the craft is about precision and timing.

What You’ll Need
- 1 cup creamy peanut butterA no-stir, shelf-stable style works best
- 1 cup granulated sugar
- 1 large egg
Optional: a light dusting of powdered sugar over the tops once cooled, for a finished, bakery-style look.
A Closer Look at Each Ingredient
The peanut butter. Since it’s the primary structural ingredient here, the peanut butter you choose has an outsized effect on the final texture. A classic, well-known shelf-stable brand tends to give the most predictable, fudgy result. If you only have natural peanut butter on hand, stir it extremely well first, and know that the cookies may spread a little more and bake up slightly softer.
The sugar. Granulated white sugar is the standard here, contributing sweetness and helping create that classic slightly crisp, cracked surface. Some bakers swap in brown sugar for a softer, more caramel-forward flavor — it’s a fine substitution, though it will change the texture slightly, making the cookies a touch chewier and less crackly on top.
The egg. A single large egg is what binds the dough into something that holds its shape through baking and cooling. Room-temperature eggs incorporate a little more smoothly than cold eggs straight from the fridge, though the difference here is subtle enough that it’s not worth stressing over.
Beyond the three core ingredients, the only other thing this recipe genuinely benefits from is a good nonstick baking surface. Parchment paper is worth the extra step — because there’s no flour to help these cookies release cleanly from the pan, a bare or lightly greased baking sheet can occasionally cause the thin, fragile edges to tear when you try to lift the cookies off. Parchment solves that problem entirely and makes cleanup effectively instant as well.
How to Make Them
- Preheat the oven. Set your oven to 350°F (175°C) and line a baking sheet with parchment paper.
- Combine the ingredients. In a mixing bowl, stir together the peanut butter, sugar, and egg until fully combined and smooth.
- Portion the dough. Scoop the dough into tablespoon-sized balls and place them on the prepared baking sheet, spacing a couple inches apart.
- Flatten with a fork. Press each ball down gently with the back of a fork, making a crosshatch pattern on top.
- Bake. Bake for 8–10 minutes, until the edges are just set and lightly golden. The centers will still look soft — that’s what keeps them fudgy.
- Cool on the pan. Let the cookies cool on the baking sheet for about 5 minutes before transferring to a wire rack — they’re fragile straight out of the oven and need this time to firm up.
- Finish, if you like. Once fully cooled, dust lightly with powdered sugar for a finished look.

Troubleshooting Common Issues
My cookies fell apart when I tried to move them. This almost always means they came off the pan too soon. Give them the full five minutes to cool and firm up on the baking sheet before attempting to transfer them — moving them while they’re still hot and soft is the most common cause of crumbling.
My cookies spread too thin. This usually points to the peanut butter used, especially if it was a natural or freshly-stirred variety with more oil than a standard shelf-stable brand. Chilling the dough for 10–15 minutes before baking can also help control spread if you’re working with a looser peanut butter.
My cookies are dry rather than fudgy. This is almost always a matter of baking time. Because there’s no flour to “set” the structure the way a traditional cookie would, these cookies rely on residual heat and cooling time to finish setting. Pull them from the oven a minute or two earlier than you think you should, and let them finish firming up as they cool.
My cookies taste bland or one-note. Since peanut butter carries almost the entire flavor of this cookie, using a lower-quality or overly processed peanut butter can leave the finished cookie tasting flatter than expected. A pinch of salt stirred into the dough — especially if your peanut butter is unsalted — can noticeably boost the overall flavor without changing the texture.
My cookies stuck to the pan. This almost always comes down to skipping the parchment paper. Because there’s no butter greasing the dough from within the way a traditional cookie recipe would provide, these cookies benefit significantly from a proper nonstick liner rather than a bare or lightly floured pan.
Serving Suggestions
These cookies are rich enough to stand entirely on their own, but a few pairings take them further. A cold glass of milk is the obvious classic, and it genuinely does complement the dense, peanut-forward flavor well. For something a little more dessert-table-worthy, sandwich two cookies around a scoop of vanilla ice cream for a quick, no-fuss ice cream sandwich. A light drizzle of melted chocolate over the top after baking also turns these into something closer to a candy-shop treat.
They also travel well, holding their shape and flavor at room temperature for hours, which makes them a solid choice for lunchboxes, bake sales, or a quick homemade contribution to a potluck when time is tight. Because the recipe scales easily — simply double or triple the three ingredients in equal ratio — it’s also an easy one to make in a larger batch for a classroom, an office, or a holiday cookie tray without needing to adjust anything about the method.
A Note on Nutrition and Dietary Adjustments
Because this recipe skips flour entirely, it’s naturally gluten-free as written, provided you check that your peanut butter and any add-ins don’t contain hidden gluten-based additives — most major peanut butter brands are gluten-free, but it’s worth a quick label check if you’re baking for someone with a sensitivity. The recipe is also naturally dairy-free, since there’s no butter or milk involved, which makes it a convenient option for dairy-free gatherings without needing any substitutions at all.
For a lower-sugar version, some bakers successfully reduce the sugar by up to a quarter without dramatically affecting the texture, though the cookies will spread and crackle slightly less. A granulated sugar substitute designed for baking can also be used in place of regular sugar, though results can vary by brand, so it’s worth testing a small batch first if you’re trying a substitute for the first time.
A Few Ways to Make Them Yours
Chocolate Chip Addition
Fold a handful of mini chocolate chips into the dough before portioning for pockets of melted chocolate throughout.
Sea Salt Finish
Sprinkle a pinch of flaky sea salt over each cookie right after baking to balance the sweetness with a savory edge.
Chocolate Dip
Once cooled, dip half of each cookie in melted chocolate and let set on parchment for a bakery-style finish.
Almond Butter Swap
Substitute almond butter for the peanut butter for a milder, slightly different nutty flavor using the same method.
Make-Ahead Tips
The dough can be portioned into balls and refrigerated for up to two days before baking — just bring it closer to room temperature for a few minutes before pressing with a fork, since very cold dough can crack rather than flatten smoothly. The dough balls also freeze well: freeze them on a tray until solid, then transfer to a freezer bag for up to two months, and bake straight from frozen, adding a minute or two to the bake time.
Storage
Keep the cookies in an airtight container at room temperature for up to 5 days — they hold their fudgy texture well since there’s no butter to go stale or rancid quickly. For longer storage, freeze the baked cookies in a single layer until solid, then transfer to a freezer bag for up to 3 months. Let them come to room temperature before eating, or warm briefly for a just-baked texture.
Common Questions
Can I use crunchy peanut butter instead of creamy?
Yes — crunchy peanut butter works fine and adds a bit of texture from the peanut pieces. The cookies will look slightly more rustic but bake up just as well.
Why are my cookies gritty on top?
This is usually just the granulated sugar not fully dissolving into the mixture. Make sure to stir thoroughly until the dough looks uniform and smooth before portioning.
Can I make these without an egg?
An egg substitute like a flax egg can work, though the texture will be a bit denser and less structured. If you’re baking for someone with an egg allergy, expect a softer, more fragile cookie.
Why do my cookies taste too sweet or not sweet enough?
This can vary depending on how sweet or salty your peanut butter brand is to begin with. If you prefer a less sweet cookie, you can reduce the sugar slightly, though this may also affect how well the cookies hold together and brown.
Can I double or triple this recipe?
Yes, and it scales very reliably since the ratio of ingredients stays exactly one-to-one across peanut butter, sugar, and eggs (one egg per cup of peanut butter and cup of sugar). For a double batch, use two eggs; for a triple batch, use three, and so on.
Can I use powdered peanut butter instead of regular?
No — powdered peanut butter lacks the fat content that gives this dough its structure and moisture. Stick with regular, full-fat peanut butter for this particular recipe.