
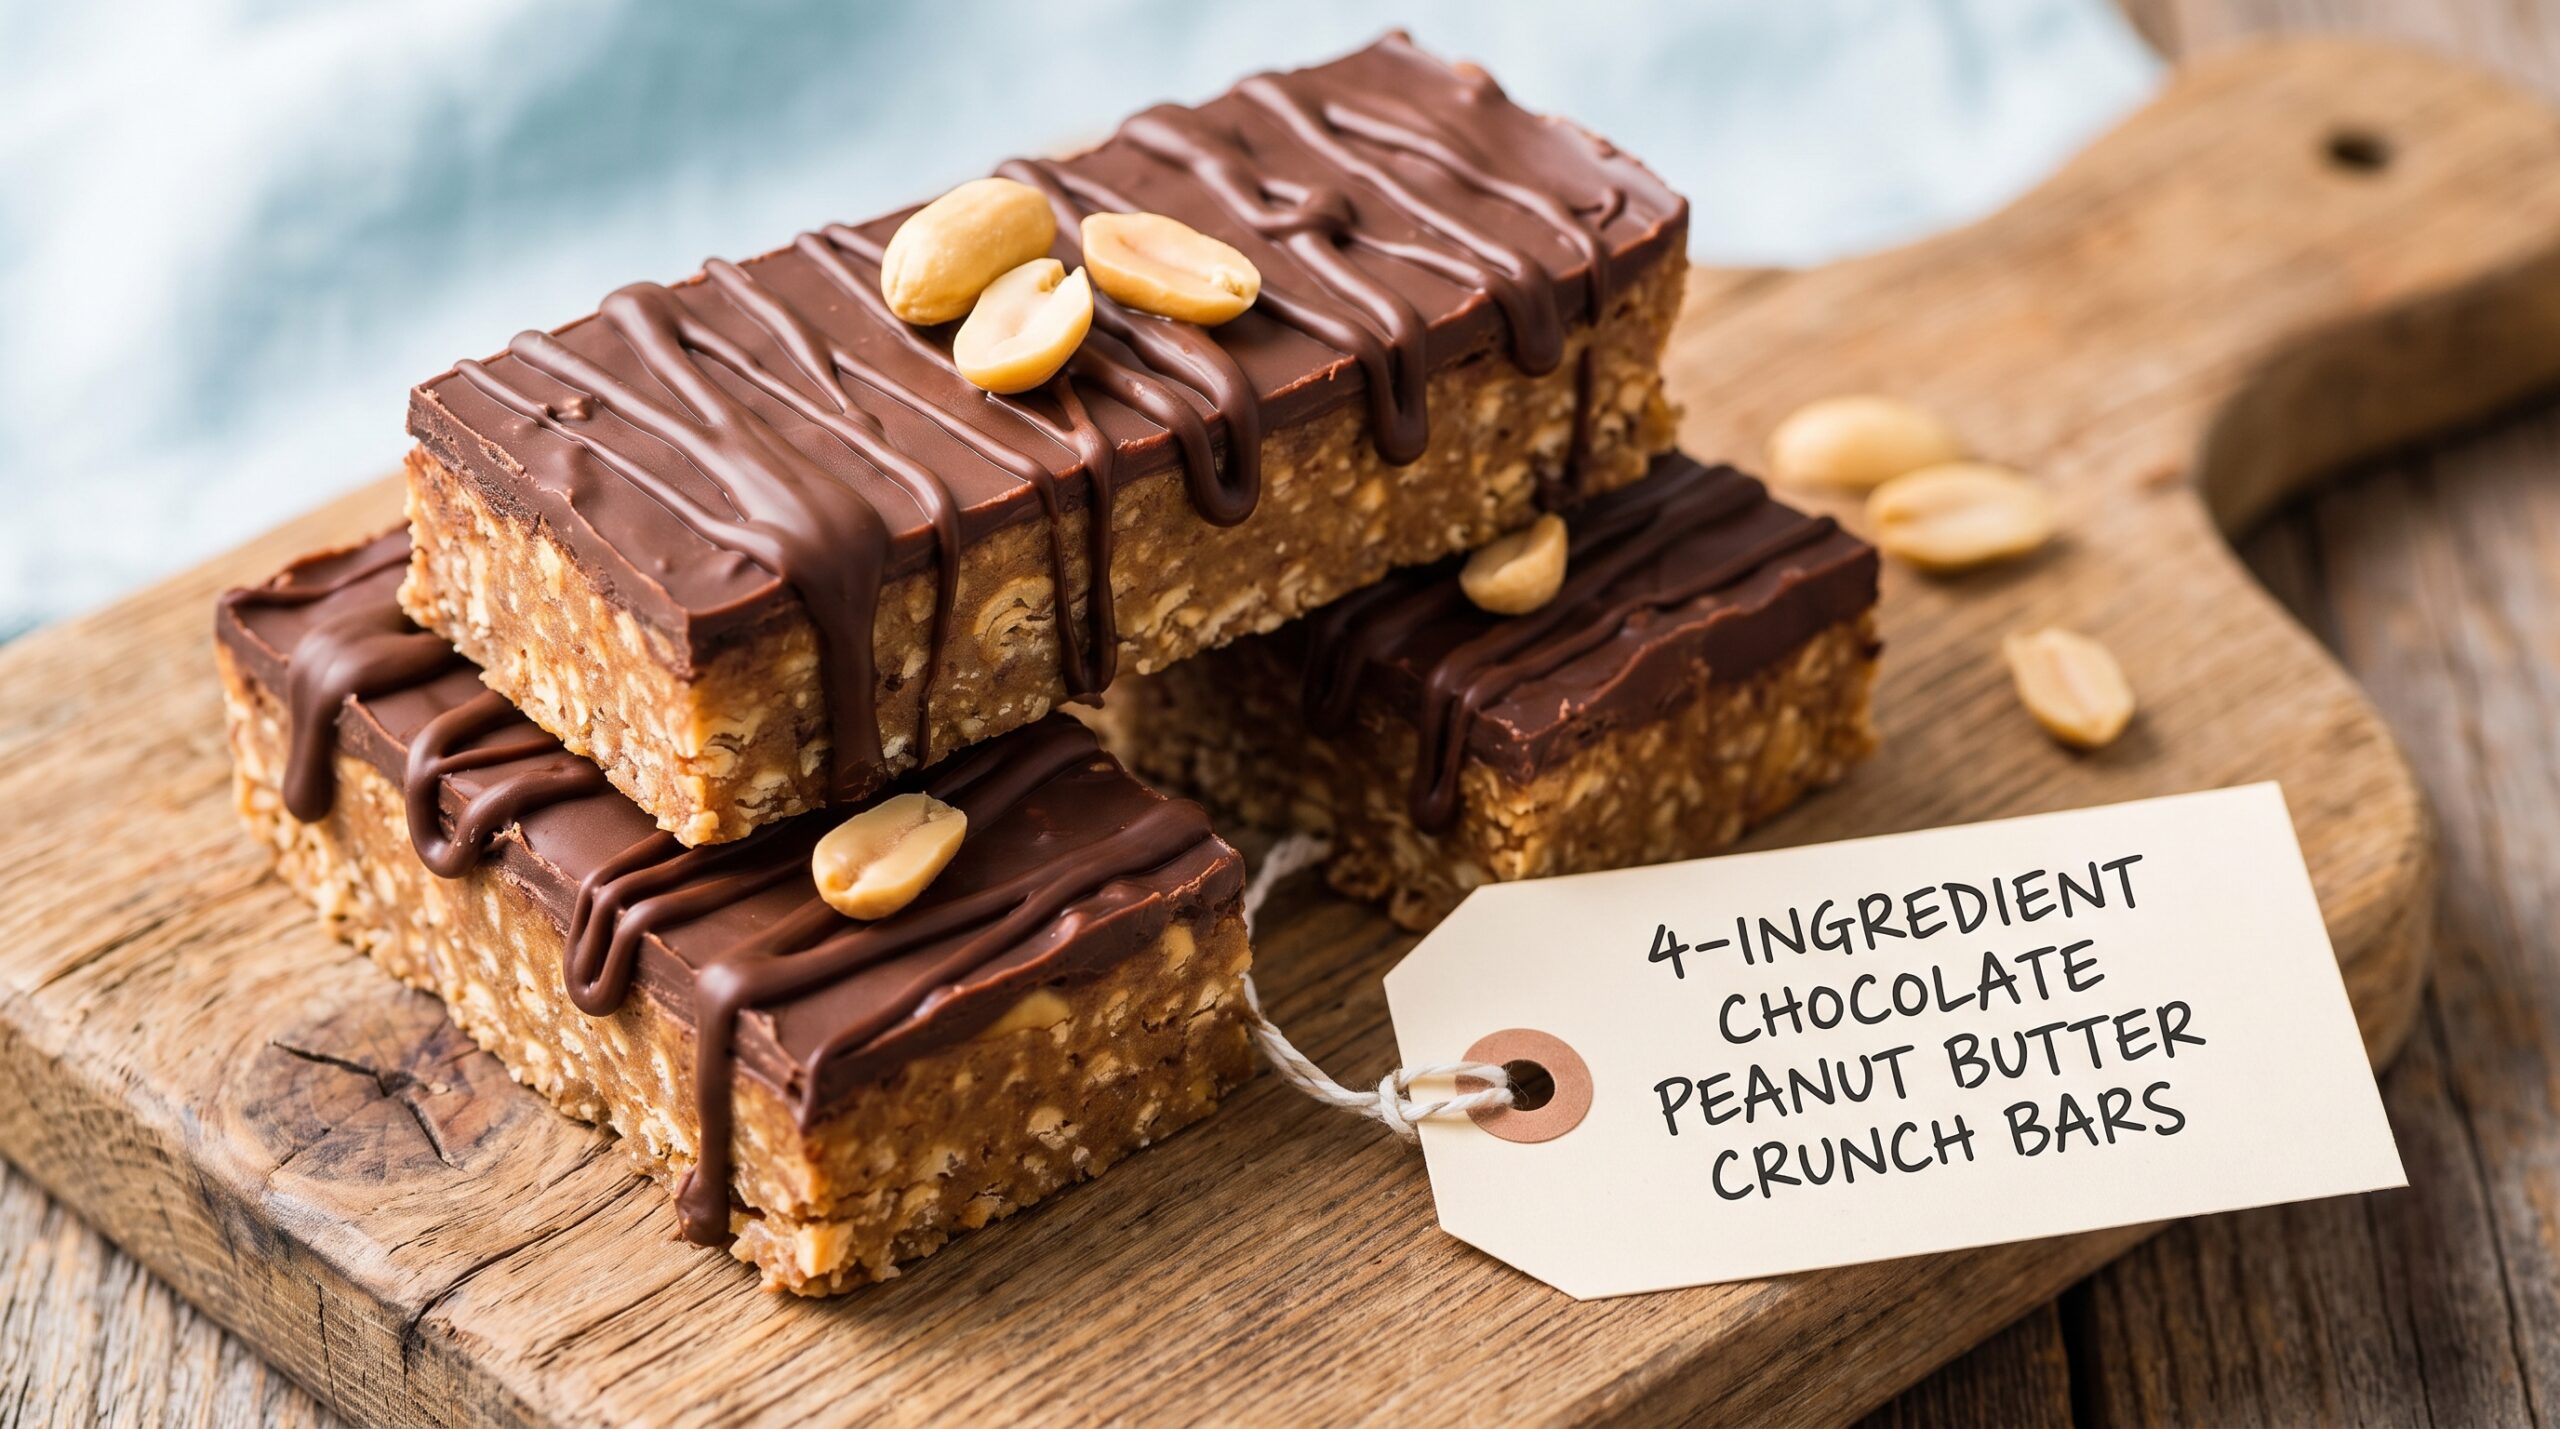
Chocolate Peanut Butter Crispy Bars
Crunchy rice cereal, melted peanut butter, and a glossy chocolate top — the candy-shop bar that never sees an oven.

Somewhere between a candy bar and a cereal treat sits this recipe, and it might be the most satisfying thing you can make without ever turning on the oven.
Crisp rice cereal binds together with melted peanut butter into a dense, chewy base, then gets topped with a smooth, glossy layer of melted chocolate that sets into a clean snap once chilled. There’s no baking involved anywhere in the process — just melting, mixing, pressing into a pan, and waiting for the fridge to do the rest.
It’s the kind of treat that shows up at bake sales and school events precisely because it travels well, holds its shape at room temperature, and appeals to almost everyone at the table. Kids love the crunch. Adults appreciate that it tastes like a candy bar without needing a candy thermometer or any real confectionery skill. And because it comes together with a handful of pantry staples, it’s just as easy to make on a random Tuesday as it is for a holiday cookie tray.
There’s also something satisfying about a recipe that produces two distinct textures in a single bite. The bottom layer is dense and chewy, with the audible crunch of rice cereal running through it. The top layer is smooth and firm, cracking cleanly with a bit of resistance the way a good chocolate bar should. Very few no-bake recipes manage to deliver that kind of textural contrast without requiring multiple cooking steps or specialized equipment, which is a big part of why this particular combination has stuck around as a favorite for so long.
A Little Bit of History
Crispy rice cereal treats have a long, well-documented history in American home baking, tracing back to the marshmallow-based version that became a household name in the 1930s after appearing on the back of a cereal box. That original recipe — cereal, butter, and melted marshmallow — became one of the most reliably reproduced no-bake treats in home kitchens for the better part of a century, largely because it required no special equipment and almost no skill to execute well.
The peanut butter and chocolate variation grew out of that same tradition but leaned harder into candy-bar territory rather than staying purely marshmallow-based. Combining peanut butter with crisp cereal and topping it with chocolate produces something texturally and flavor-wise much closer to a classic candy bar — dense, chewy, sweet, and nutty — while keeping the basic no-bake, no-cook simplicity that made the original recipe so popular in the first place. It’s a natural evolution: swap the airy marshmallow binder for a richer, more flavorful peanut butter one, and the result reads less like a kids’ snack and more like a genuine dessert.
This style of bar also owes something to the broader tradition of homemade candy bar copycats — recipes designed to recreate the flavor and texture of a favorite store-bought candy using simple, accessible ingredients. Peanut butter and chocolate together is one of the most enduringly popular flavor pairings in American confectionery, showing up in everything from classic candy bars to holiday fudge, and this recipe taps directly into that pairing while keeping the process about as simple as homemade candy gets.
Why This One Works
The structure of this recipe hinges on two separate binding mechanisms working together. Peanut butter, when gently melted, becomes thin and pourable enough to coat every piece of rice cereal evenly, and as it cools back down, it firms up and holds the cereal together in a dense, chewy mass — much the way melted chocolate or caramel would in a classic candy bar. Chilling the mixture speeds up that firming process significantly compared to leaving it at room temperature, which is why this recipe relies on the fridge rather than just time on the counter.
The chocolate topping serves a slightly different structural purpose. Melted and poured over the set peanut butter base, it cools into a thin, firm layer that adds both flavor contrast and a satisfying snap when you bite into a finished bar. Because chocolate sets hard at room temperature but softens quickly with warmth, these bars are best kept chilled until shortly before serving — a detail that matters more here than in many other bar recipes, since a warm chocolate top can smear rather than crack cleanly.
There’s also a reason this particular ratio of ingredients — three parts cereal to roughly one part peanut butter binder — tends to produce the most reliable texture. Too much peanut butter relative to cereal, and the bars turn overly dense and heavy, losing the light crunch that makes rice cereal treats appealing in the first place. Too little, and the cereal won’t hold together at all once cut. The ratio used in this recipe strikes a middle ground that home bakers have refined over years of trial and error, producing a bar that’s substantial without being overly heavy.

What You’ll Need
- 3 cups crisp rice cereal
- 1 cup creamy peanut butterA no-stir, shelf-stable style works best
- 1/3 cup maple syrup or honeyHelps bind and lightly sweeten the base
- 1 cup semi-sweet or milk chocolate chipsMelted for the top layer
Optional: a pinch of flaky sea salt sprinkled over the melted chocolate before it sets.
A Closer Look at Each Ingredient
The rice cereal. Any crisp rice cereal works here, whether a name-brand or store-brand version — the key is using it fresh, since stale cereal that’s lost its crunch will make for a softer, less satisfying finished bar. Measure it gently rather than packing it into the cup, since compacted cereal can throw off the ratio of cereal to binder.
The peanut butter. As with most no-bake recipes built around peanut butter, a smooth, shelf-stable variety gives the most consistent results. It melts evenly and coats the cereal cleanly, producing a uniform texture throughout the base. Natural peanut butter can work but tends to produce a slightly softer, oilier bar that may not hold its shape quite as firmly.
The sweetener. Maple syrup or honey both work well here, helping to bind the peanut butter and cereal together while adding a layer of flavor beyond straight sweetness. Maple syrup leans slightly more caramel-like; honey brings a touch of floral warmth. Either is a fine choice — pick based on what you already have in the pantry or which flavor profile you prefer.
The chocolate. Semi-sweet chocolate chips are the standard here and balance nicely against the sweetness of the peanut butter base, though milk chocolate works well too for a sweeter, creamier top layer. Whichever you choose, melt it gently and evenly, since chocolate that’s overheated or melted too quickly can seize into a grainy, unworkable texture.
How to Make Them
- Prepare the pan. Line an 8-inch square baking pan with parchment paper, leaving overhang on the sides for easy removal later.
- Melt the peanut butter mixture. In a saucepan over low heat, or in the microwave in short bursts, gently warm the peanut butter and maple syrup together until smooth and pourable.
- Combine with cereal. Place the rice cereal in a large bowl and pour the warm peanut butter mixture over it, stirring until every piece is evenly coated.
- Press into the pan. Transfer the mixture to the prepared pan and press firmly and evenly across the bottom using the back of a spoon or your hands.
- Melt the chocolate. Melt the chocolate chips gently, either in short microwave bursts stirred between each, or over a double boiler, until smooth.
- Top with chocolate. Pour the melted chocolate evenly over the pressed cereal base and spread to the edges with a spatula.
- Chill. Refrigerate for at least 1 hour, until the chocolate layer is fully set and firm.
- Slice and serve. Lift out using the parchment overhang and cut into squares while cold for the cleanest slices.

Troubleshooting Common Issues
My bars fell apart when I cut them. This almost always comes down to the cereal base not being pressed firmly enough before the chocolate went on top. Press hard and evenly across the entire pan — a loosely packed base simply won’t hold together once sliced, no matter how well the chocolate layer sets.
My chocolate topping looks dull or streaky instead of glossy. This is typically a sign the chocolate was overheated during melting. Melt chocolate low and slow, stirring frequently, and stop heating as soon as it’s smooth rather than waiting for it to look fully liquid, since residual heat will finish the job.
My chocolate cracked when I sliced the bars. Chilled chocolate can crack rather than cut cleanly if the knife is cold or the bars are extremely cold straight from the fridge. Let the bars sit at room temperature for 5–10 minutes before slicing, and use a sharp knife warmed slightly under hot water and dried, for the cleanest cuts.
My cereal base turned out too soft or sticky. This usually means the peanut butter and syrup mixture wasn’t cooked or warmed quite long enough to firm up properly on cooling, or that the bars didn’t chill long enough before slicing. A longer, undisturbed chill in the fridge typically resolves this.
My bars taste greasy or oily. This can happen if the peanut butter used had a higher oil content, such as a natural or freshly-stirred variety. A standard, shelf-stable peanut butter tends to give a cleaner, less oily finish since its fat content is more evenly emulsified throughout the product.
The cereal lost its crunch by the next day. This is a natural characteristic of the recipe over time, since the cereal is coated in a moist binder that will gradually soften it the longer the bars sit. For the crunchiest texture, these bars are genuinely best enjoyed within the first day or two after making them.
Serving Suggestions
These bars are rich and satisfying enough to serve entirely on their own, straight from the fridge, but a few small touches make them feel a bit more special. A sprinkle of flaky sea salt over the chocolate layer right before it sets adds a savory contrast that cuts through the sweetness nicely. A drizzle of melted white chocolate over the top, added in thin lines after the main chocolate layer has set, gives a decorative, bakery-style finish with very little extra effort.
Because these bars hold their shape well at room temperature for a few hours, they’re a strong choice for lunchboxes, picnics, and potlucks where refrigeration isn’t guaranteed to be available the whole time. They also cut easily into smaller, bite-sized pieces if you’re serving a crowd or want a lighter portion — simply score the pan into more, smaller squares before the final chill.
These bars also pair nicely with a cold glass of milk, echoing the same simple, nostalgic pairing that’s made chocolate and peanut butter such a lasting flavor combination in American snacking for generations. For a more dessert-table-appropriate presentation, cut them into smaller, more elegant squares and arrange on a platter alongside other bite-sized treats rather than serving them as large, single portions.
A Few Ways to Make Them Yours
Extra Crunch
Fold in a handful of chopped roasted peanuts with the cereal for extra texture and a deeper peanut flavor throughout.
White Chocolate Top
Swap the chocolate topping for melted white chocolate for a sweeter, creamier finish that pairs beautifully with the peanut butter base.
Almond Butter Swap
Replace the peanut butter with almond butter for a milder, slightly different nutty flavor using the same method.
Swirled Topping
Melt both dark and white chocolate separately, then swirl them together on top before chilling for a marbled, bakery-style finish.
Make-Ahead Tips
These bars are naturally suited to being made ahead, since they need a solid chilling period regardless of when you plan to serve them. They can be fully prepared up to 5 days in advance and kept covered in the fridge, making them a convenient choice for parties, potlucks, or a make-ahead lunchbox treat for the week. If you’re transporting them somewhere warm, keep them chilled as long as possible before serving, since the chocolate topping will soften noticeably in heat.
If you know you’ll be serving these over several days, consider slicing only what you need and keeping the remaining block uncut in the fridge, wrapped tightly. An uncut block tends to hold its texture slightly better over time than pre-sliced pieces, which have more exposed surface area and can dry out a little faster at the edges.
A Note on Dietary Adjustments
This recipe can be adjusted for a few common dietary needs without much trouble. For a gluten-free version, double-check that your rice cereal is certified gluten-free, since some brands are processed in facilities that also handle wheat. For a dairy-free version, use dairy-free chocolate chips, which are widely available and melt in exactly the same way as standard chocolate chips. Honey can be swapped for maple syrup, or vice versa, to accommodate different dietary preferences, including a fully vegan version if maple syrup is used in place of honey.
For those managing sugar intake, a portion of the chocolate can be swapped for a sugar-free or reduced-sugar chocolate alternative without significantly affecting how the topping sets, since the melting and cooling behavior of most chocolate substitutes remains similar to standard chocolate. As always, taste and texture will vary somewhat by brand, so it’s worth trying a small test batch first if you’re using an unfamiliar substitute for the first time.
Common Questions
Can I use crunchy peanut butter instead of creamy?
Yes — crunchy peanut butter adds extra texture to the base and works just as well structurally as creamy peanut butter in this recipe.
Why did my chocolate layer turn white or streaky after chilling?
This is called chocolate bloom, and it happens when chocolate is melted and cooled too quickly or stored somewhere with fluctuating temperatures. It’s purely cosmetic and doesn’t affect flavor, but melting chocolate slowly and evenly helps prevent it.
Can I skip the maple syrup or honey?
It’s not recommended — the syrup helps bind the peanut butter and cereal together and contributes to the base holding its shape once chilled. Skipping it can result in a crumblier, less cohesive bar.
How long do these bars last?
Stored in an airtight container in the fridge, they’ll stay fresh for up to a week. They can also be frozen for up to 2 months, wrapped tightly, and thawed in the fridge before serving.
Can I double this recipe for a bigger batch?
Yes — simply double all four ingredients and use a 9×13-inch pan instead of an 8-inch square pan. The process and chilling time stay the same.
Can I use a different type of cereal?
Rice cereal gives the classic light, crisp texture this recipe is known for, but other lightly sweetened, crisp cereals can be substituted with slightly different results. Avoid anything overly dense or heavily flavored, since it can overpower the peanut butter and chocolate.
My chocolate layer is too thick or too thin. How do I adjust it?
Simply adjust the amount of chocolate used to your preference — more chocolate chips will produce a thicker top layer, while less will give a thinner, more delicate one. Just make sure you have enough to fully cover the surface evenly either way.